Remember those little conversation heart candies? A less-terrifying way to let your classmate know your true feelings: TOO CUTE, CUTIE PIE, BE MINE, or if you were really feeling bold, KISS ME! It was so fun to line them up and pick out the messages you wanted. These iconic Valentine’s Day treats have been around since about 1857, when pharmacist Oliver Chase invented a machine to cut lozenges (cough drops) from wafer candy. Years later his brother, Daniel, began printing words onto the candy which became popular for weddings. Since the wafers were large, longer sayings like “Please send a lock of your hair by return mail” were possible! In 1901, the tiny Sweethearts we recognize today were launched.
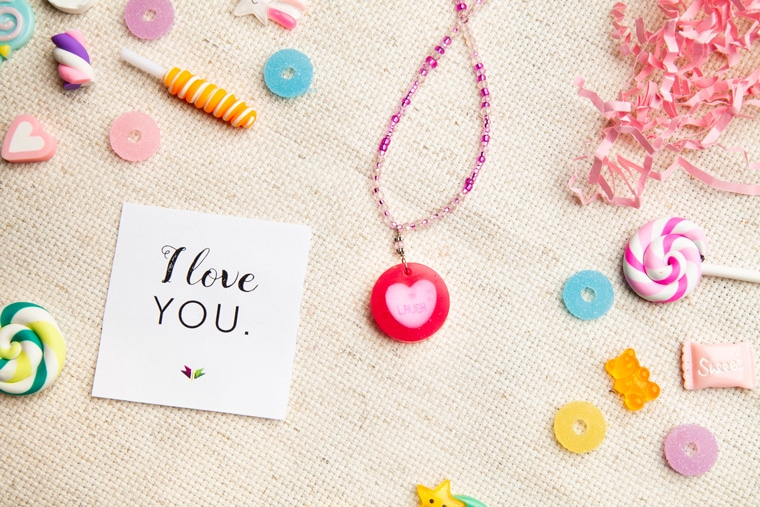
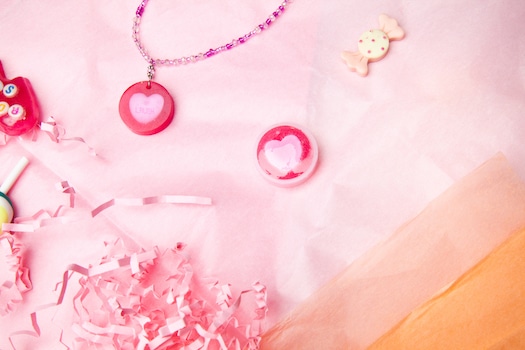
Since it wouldn’t feel like Valentine’s Day without them, we have a way to keep the nostalgic feel while updating the coolness factor! Our Resin Candy Heart Pendant combines the popular craft medium of resin (crystal clear epoxy) with the heart candies everyone loves. This versatile project allows you to get creative. Perfect for an activity with the kids or for some solo Mom Time (woohoo!). Turn this resin heart into a pendant for a necklace, key chain or pin. Kids and teens can add colorful tinsel, sprinkles or glitter. For a more sophisticated touch, use a single color or swap candies for letter beads to spell out a name, word, or love message!
It’s a unique Valentine that will make everyone smile. You can also adapt this DIY outside of ❤️ Day. It’s a thoughtful gift for an anniversary, Mother’s Day, birthday or bridal shower. Don’t forget to buy extra conversation hearts so you can munch on them while you craft!
– Make sure to work in a well-ventilated area!
– Wear a mask to protect yourself from fumes.
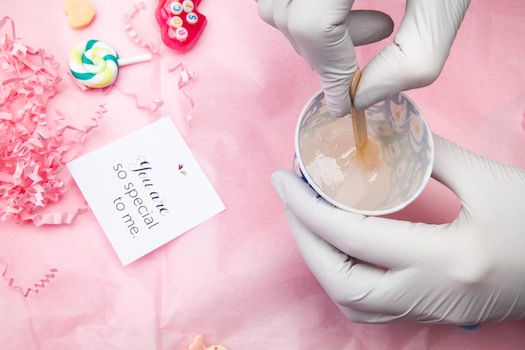
– Wear rubber gloves to protect your hands from irritation and a sticky mess!
– Cover the area you’re working on with wax paper.
– Have Clorox wipes on hand – in our experience, they’re the best when it comes to cleaning up bits of runaway resin!
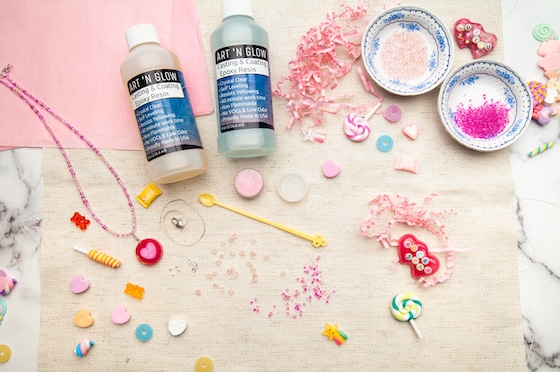
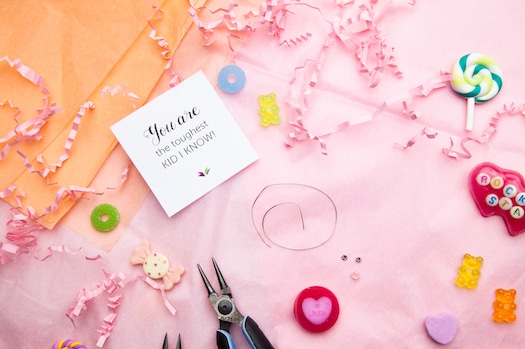
– Safety equipment
– Plastic mixing cups
– Two-part epoxy resin
– Resin pigment
– Heart shaped molds
– Letter beads
– Candy conversation hearts
– Utensils for stirring, such as popsicle sticks and toothpicks
– E6000 glue or super glue
– Pendant bail
– Jewelry chain
– Jump rings and lobster clasp
– Optional: glitter, beads, sequins – anything that sparkles!
– Recommended: heat gun
– Different types of resin need different ratios of resin and hardener – we’re using a kit that needs to be mixed at a 1:1 ratio. Look for this on the label when shopping for materials, to make your life easier!
– Always read the description on the label, both for safety and for aesthetic reasons! You want to make sure that your resin is stirred for the appropriate amount of time. If it’s not stirred enough, it will not cure properly, and you’ll never be able to wear your creation.
– Keep temperature in mind! Resin prefers warmer temperatures for mixing and curing. If resin is mixed while too cold, it will end up with an army of tiny bubbles inside, resulting in a cloudy look. Make sure you store your resin in room temperature.
– You will still inevitably end up with a couple of air bubbles when pouring – gently use a heat gun to get those bubbles to rise to the surface and disappear.
– You could invest in resin mold release spray to make popping your final product out of it’s mold easier. However, in our experience, if you use silicone molds, take care to mix your resin for the required amount of time, and let it cure for long enough, it should be quite easy to remove from the mold!
Step 1: Think about your design! In this tutorial, I’ll show you how to use candy conversation hearts, and also letter beads to make this pendant. Think about what color you’ll use, what your message will be – if it helps, draw a little sketch to guide you through the process!
Step 2: Cover your work area and make sure you’re following all the safety instructions. Prepare your mold and materials.
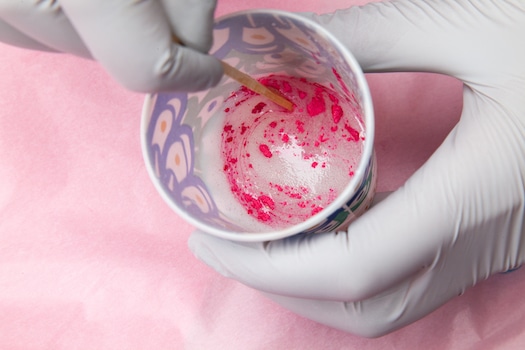
Step 3: Mix your clear resin – make sure you’re following the recommended resin-to-hardener ratio, temperature and mixing time!
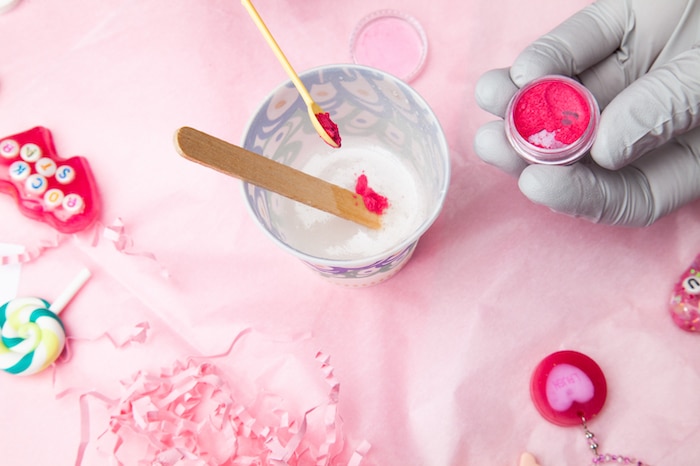
Step 4: Add your pigment of choice. Mix well, until the resin looks as opaque as you’d like.
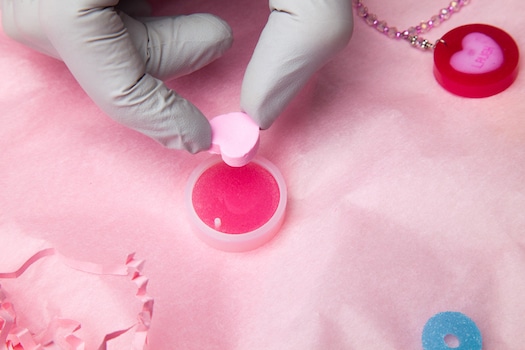
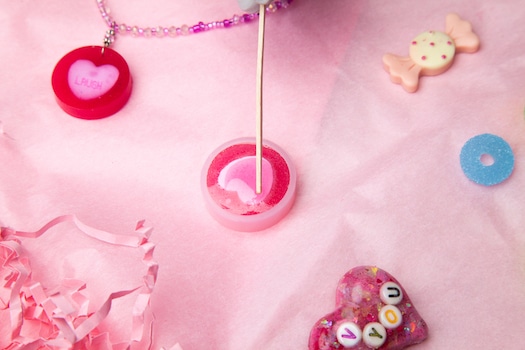
Step 5: Pour your colored resin in the mold, leaving a little space.

Step 6: Place conversation heart, letter beads, or other materials into the resin filled mold.
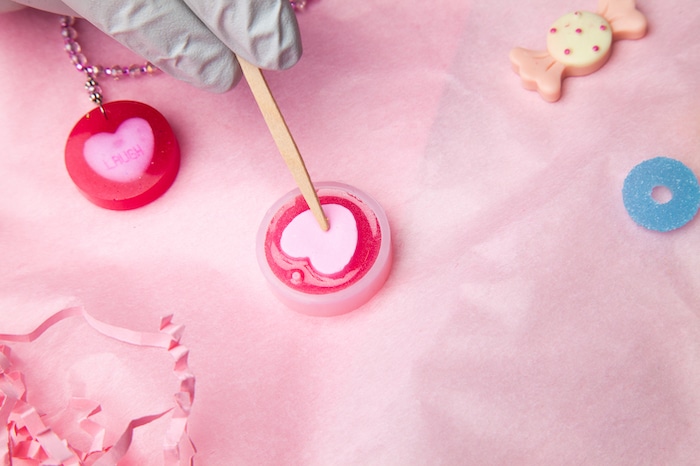
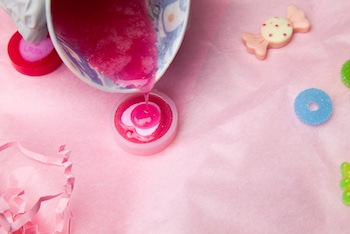
Step 7: Pour a small amount of resin over the conversation heart, letter beads, or other materials to fully cover it in your resin mixture.
Step 8: Let cure until completely hardened – we recommend leaving it to cure overnight.
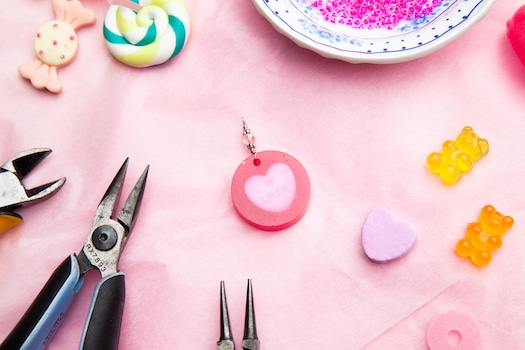
Step 9: Pop out of mold, and if needed, use a nail filer to smoothen out any edges.
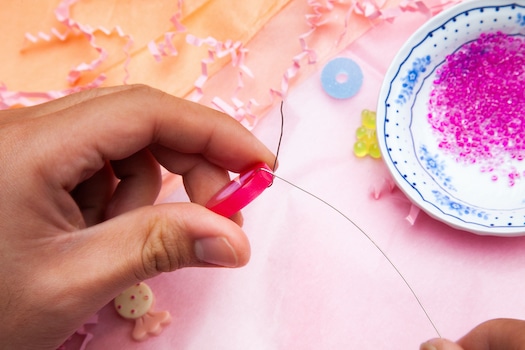
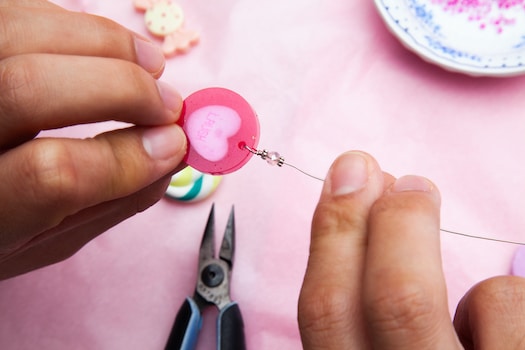
Step 10: Grab a piece of wire to wire wrap the pendant and place the wire through the hole.
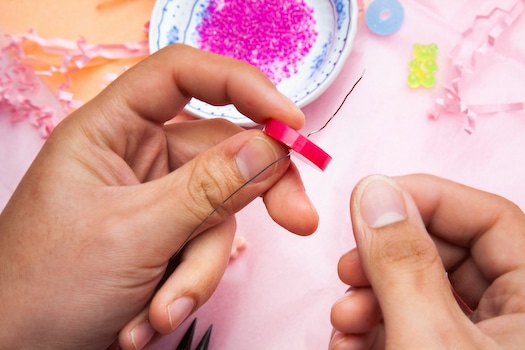
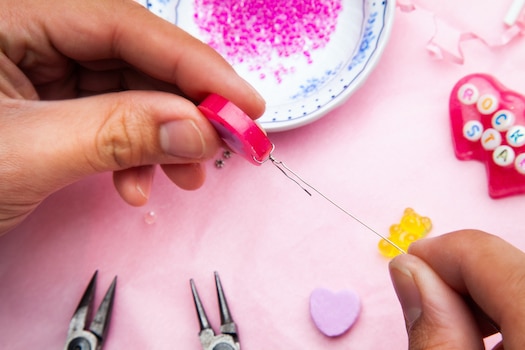
Step 11: Cross the two ends of the wire at the top of the pendant, keeping one end shorter.
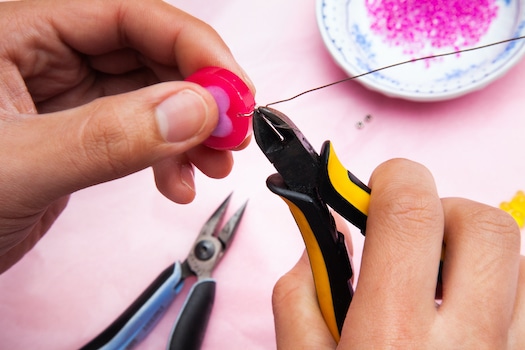
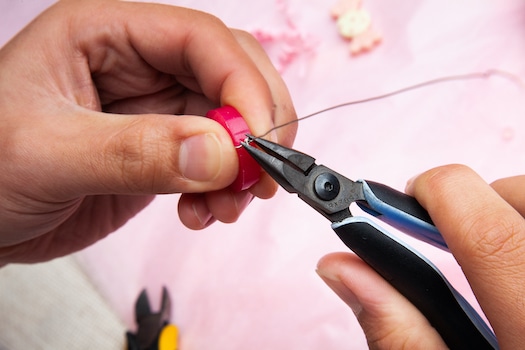
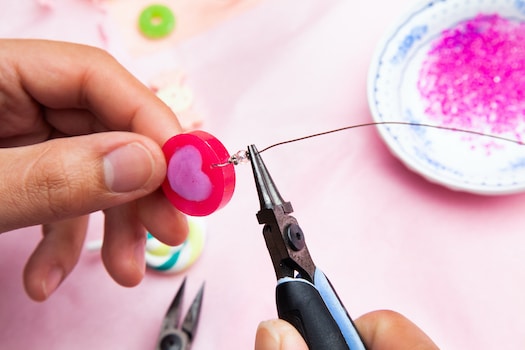
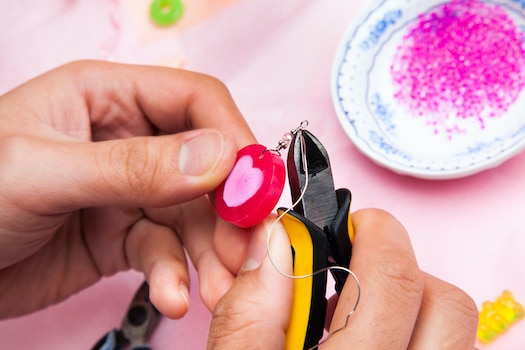
Step 12: Using chain nose pliers, wrap the shorter end around the other, keeping the long end straight up. Cut off the excess wire with flush cutters and using chain nose pliers, press the small tail end closed.
Step 13: Once, wrapped, put three beads of your choosing on the wire (for beautification purposes).
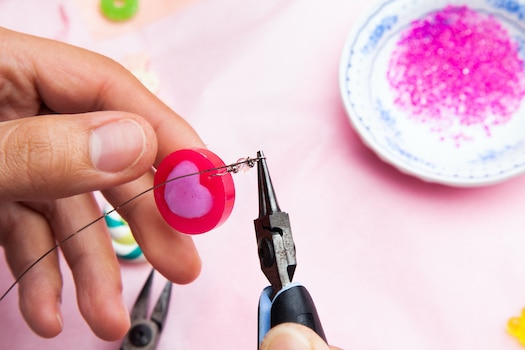
Step 14: Using round nosed pliers, grab the wire with the pliers pinchers aligned horizontally.
Step 15: Pull the wire to one side, turning the pinchers so they’re vertically stacked, and creating a partial loop.
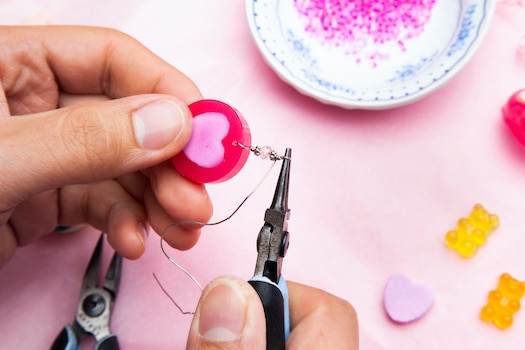
Step 16: Turn the pinchers horizontal again and pull the wire across the bottom of the partially made loop to complete it.

Step 17: With your fingers take the tail end and wrap it around the bottom of the half the loop to close and secure it.
Step 18: Cut the remaining wire off with your flush cutters and wear your incredible creation!
– Put in glitter for added dimension when you poor resin into your mold. Use a toothpick to distribute it evenly. This works best in clear resin.
– If you are using Letter Beads, you’ll need to be extra careful to place them not only upside down, but backwards. This sounds a bit complicated, but you can check how your beads are supposed to be laid out by placing them on a piece of glass or clear plastic sheet, and looking at them from below. When you pop them out of the mold, they’ll be the mirror image of what you see from above, so a bit more planning here goes a long way!
– Another way to turn your project in a pendant is to attach a pendant bail to the back of the heart with E600 glue. Grab your length of jewelry chain and thread it through the bail. Use chain nose pliers to add jump rings and a lobster clasp to the ends of the chain for closure. With that, you’re done!
– You can turn this project into almost any jewelry item! Add a ring or brooch backing with E6000, or opt for a smaller mold to make a pair of earrings. There’s so many possibilities!
Give us something to talk about! Show us your DIY Resin Candy Heart Pendant! We’d love to see your creative spin on this project. Please share with us on social media @hellodragonflyfun