Have you noticed the colorful skulls popping up in the form of everything from party decor to succulent pots to salt and pepper shakers?! These calaveritas de azucar, or “sugar skulls” aren’t to be confused with the ghosts and goblins of October 31st. They are for Día de los Muertos, Day of the Dead, which takes place October 31 through November 2. You’ll notice they are cheerfully adorned with folk art and are the most recognizable symbol of this special tradition.
Despite its name, Día de los Muertos is a celebration of life! Originating thousands of years ago from Mexico and Central America, it’s comprised of festivities with music, dancing, and delicious food. Participants honor their loved ones who’ve passed away by the ofrenda (offering). Temporary altars are set up and include four important elements:
Why a sugar skull? Mexico, not rich enough to buy imported church decorations but rich in the sugar they produced, used these sweet crystals to create art for their Day of the Dead celebrations. Sugar skulls (Calavera) are displayed to represent a departed soul.
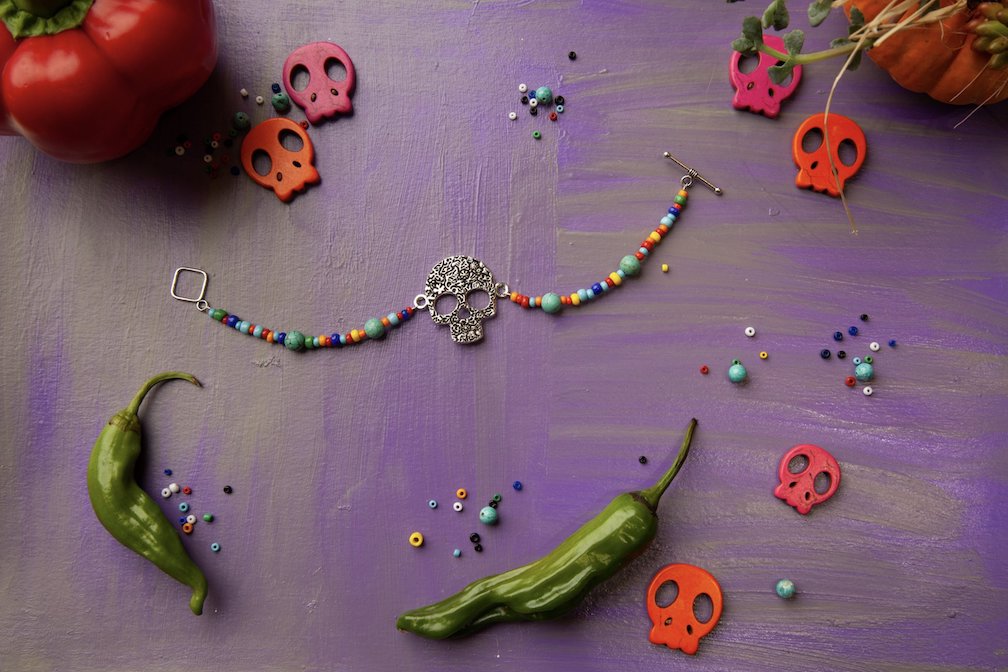
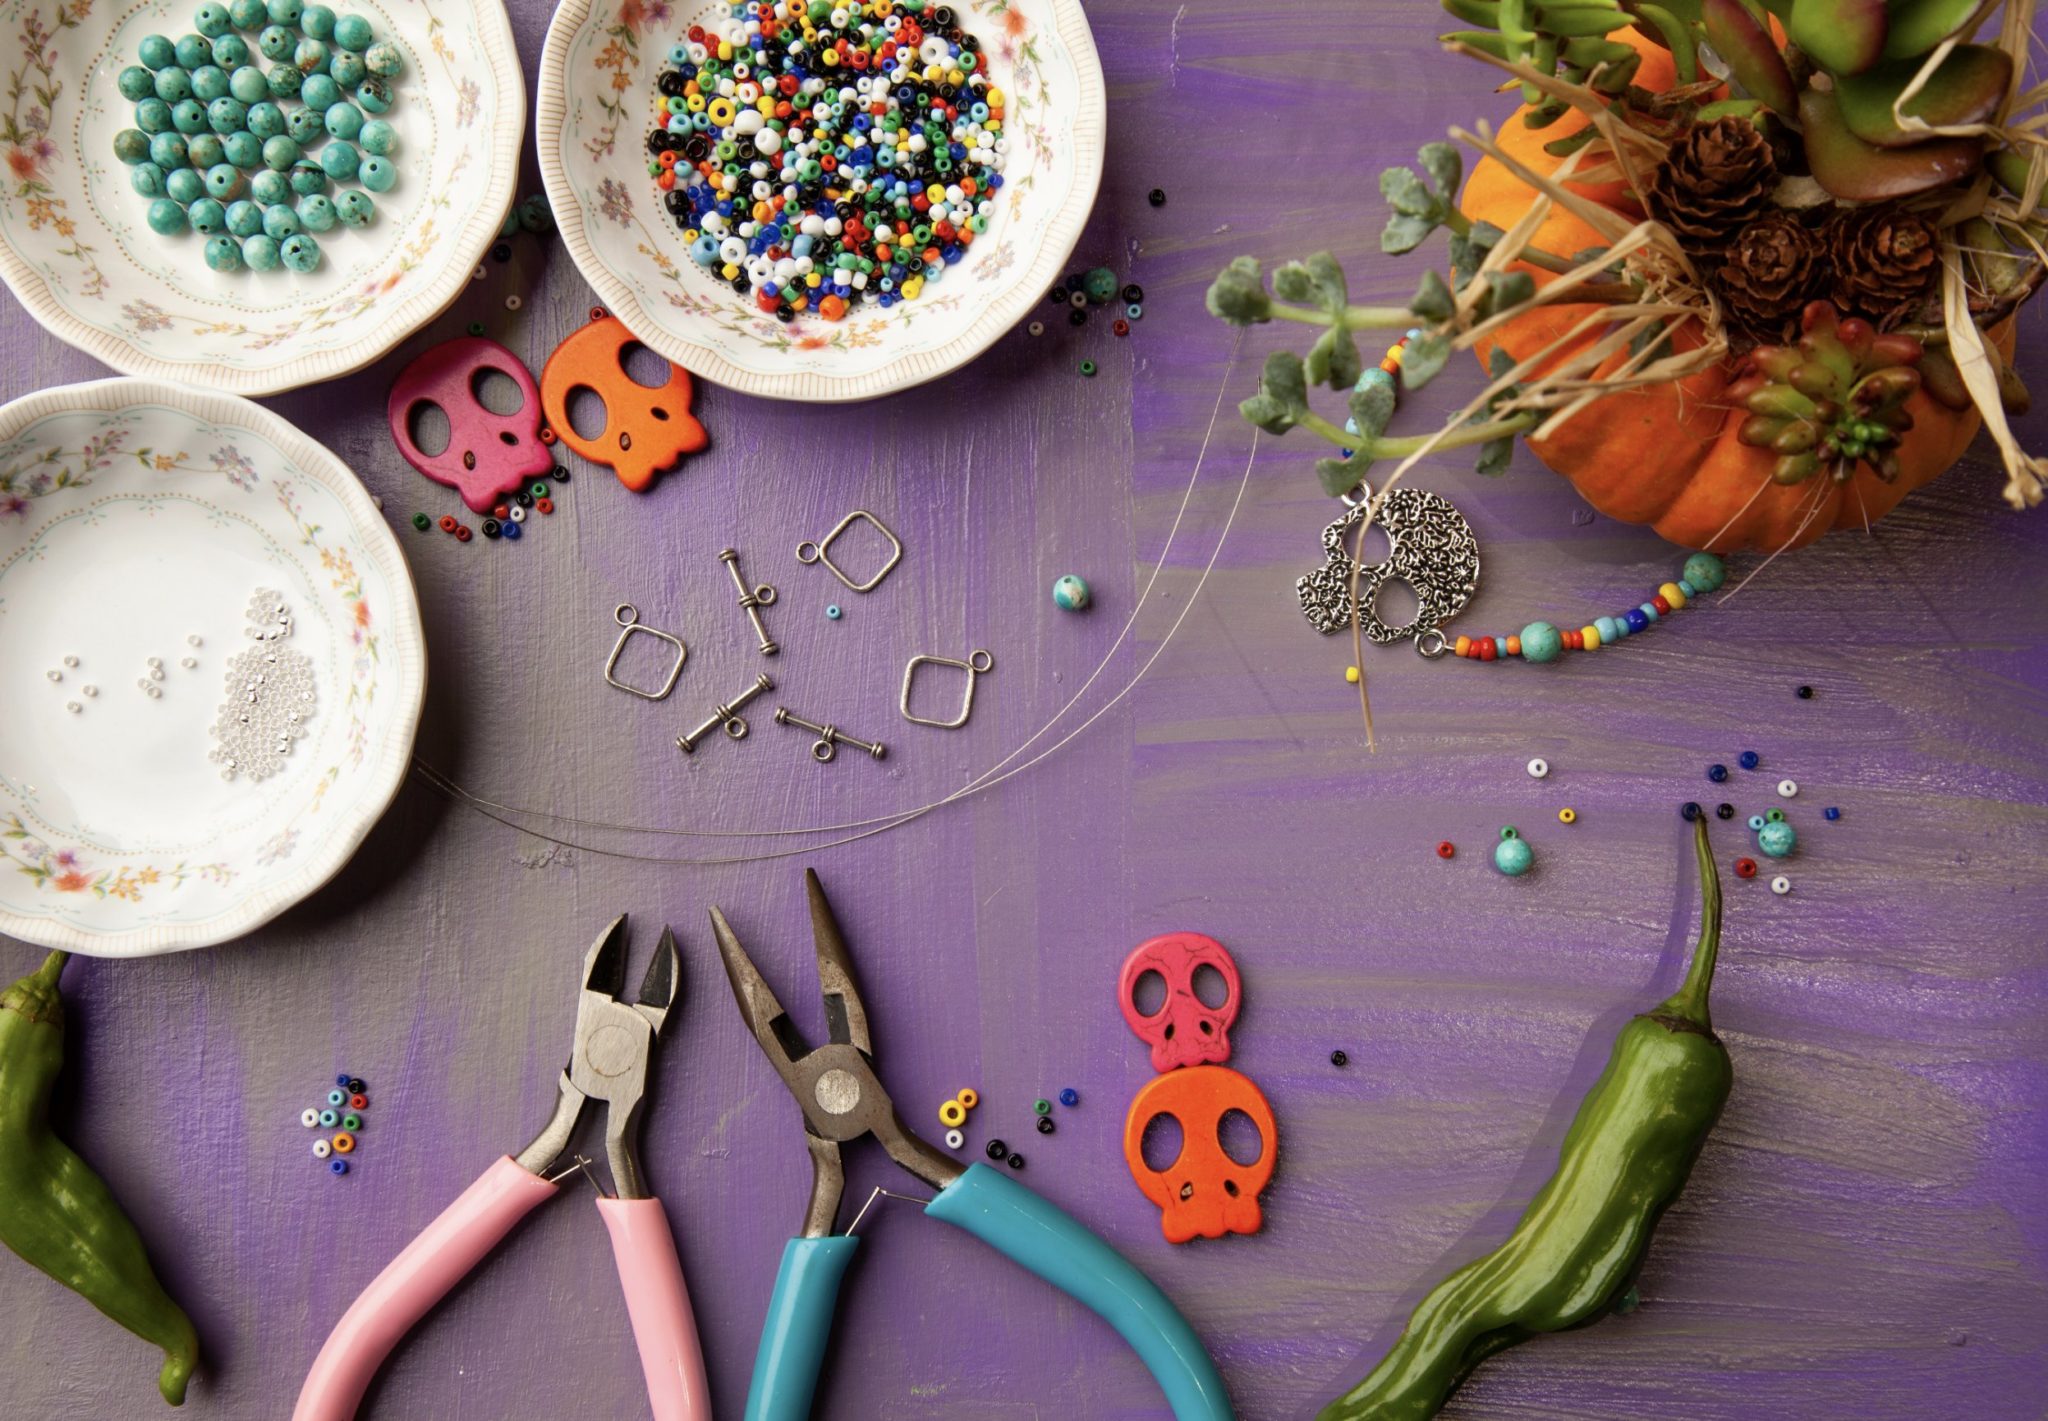
Family members also personalize their ofrenda with photos and mementos of their loved ones who have passed on. We have a wonderful project to honor this indigenous holiday, our Sugar Skull Bracelet. In the spirit of the Day of the Dead, enjoy this craft with family and friends!
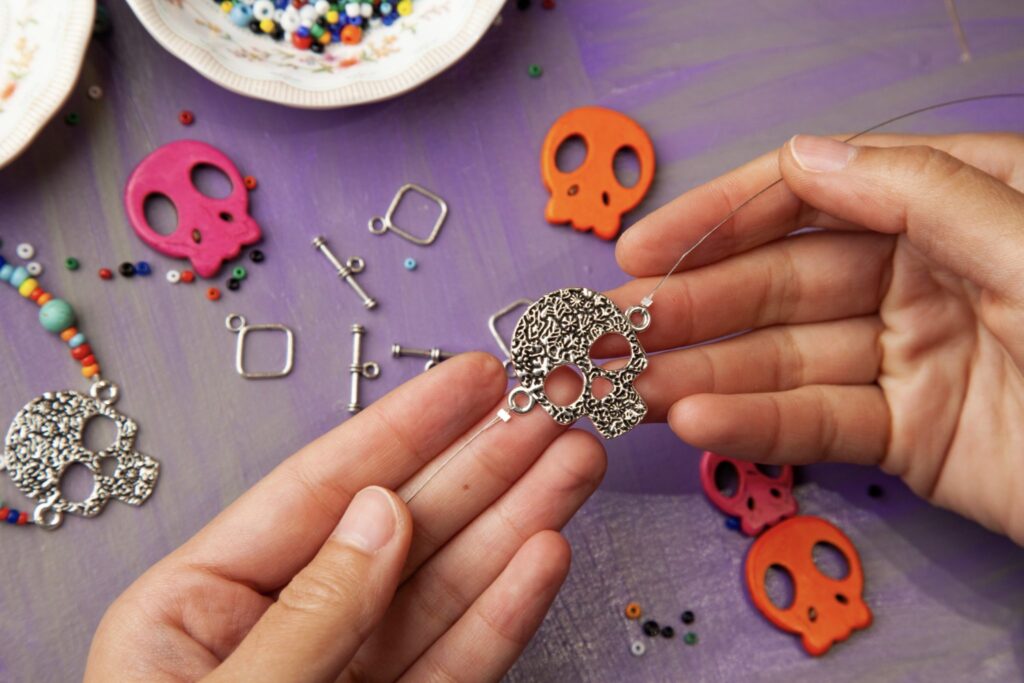
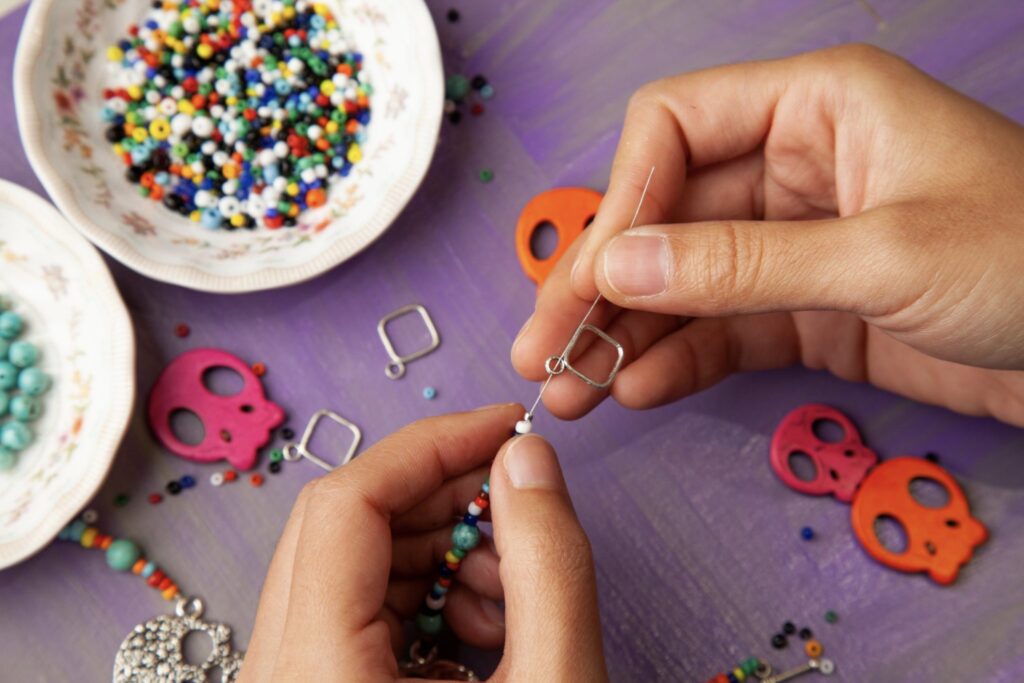
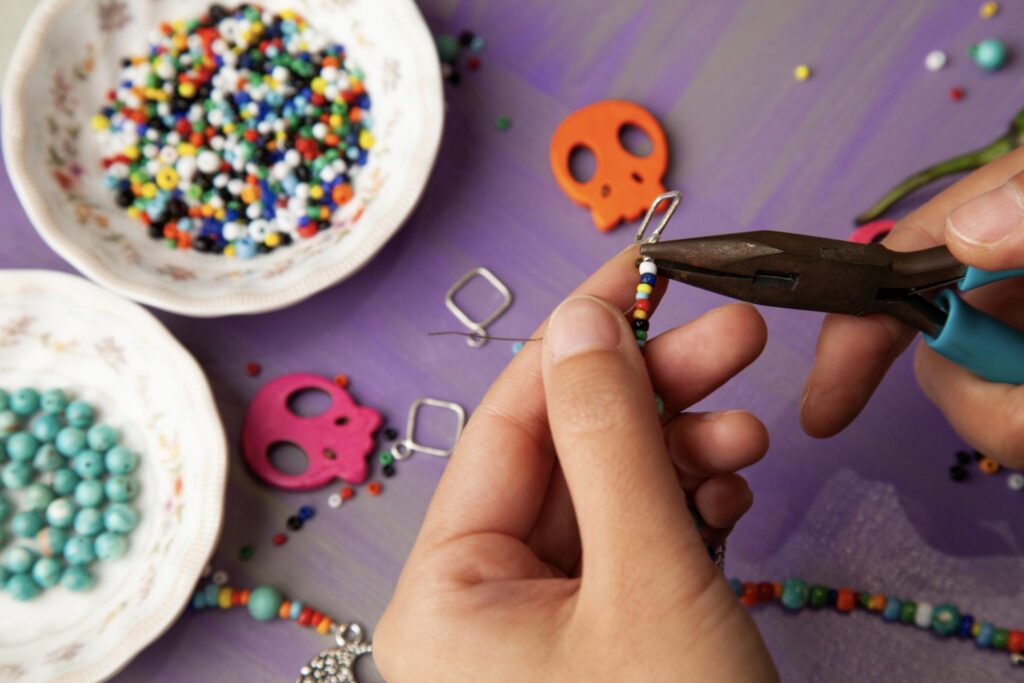
Step 1: Start your bracelet by crimping two lengths of jewelry wire on the two rings of the skull-shaped connector charm. Make sure the length of your beading wire is two inches longer than what you need around your wrist – you’ll need the extra to finish off the bracelet. To crimp your setup, take your first piece of jewelry wire, slide on a crimp bead, and making sure the crimp bead doesn’t slip off your wire, slide the last inch of it into the first ring of your connector charm.
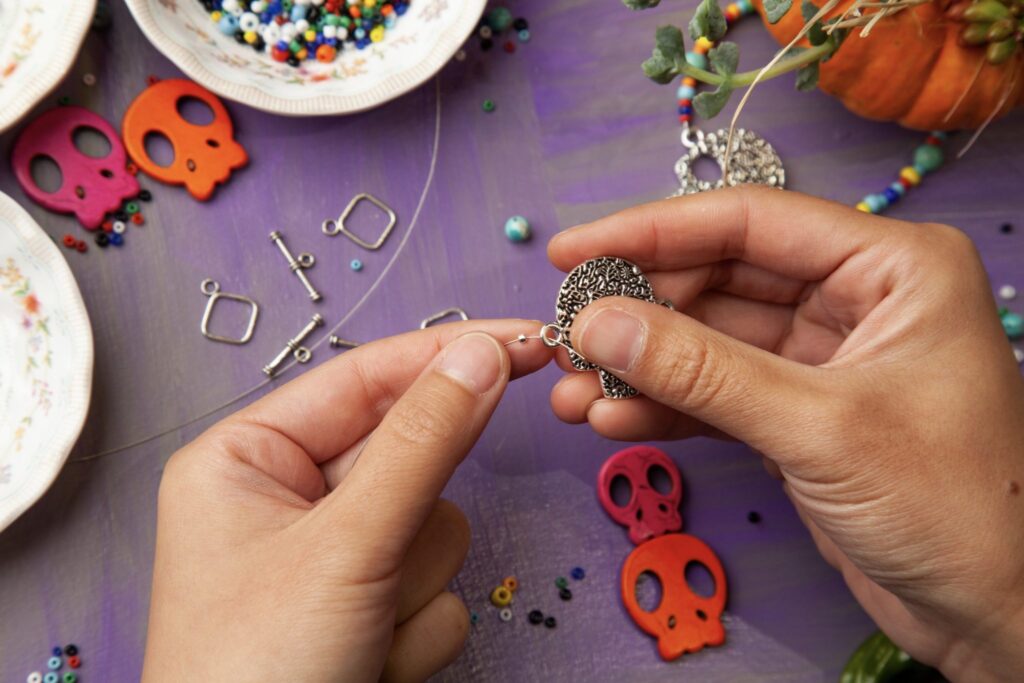
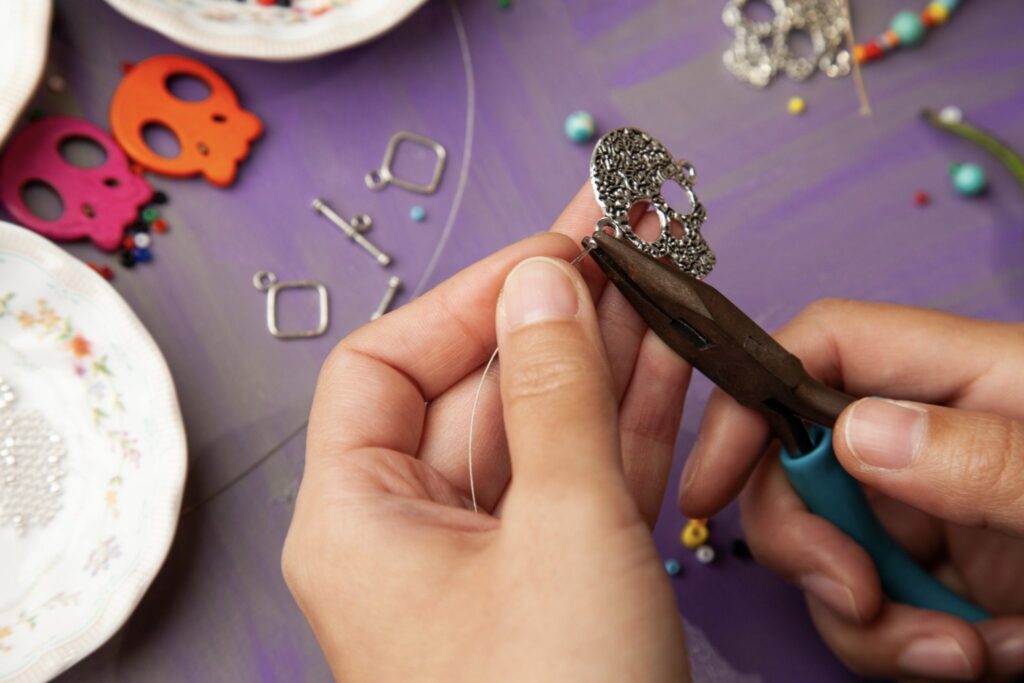
Step 2: Take that last inch of wire and loop it back into the crimp bead, making sure that the ring of the charm is caught in the loop. Pull the crimp bead as close to the charm as you can, but make sure it has a bit of room to move around. Use your chain nose pliers to flatten the crimp bead. Repeat these steps on the other side of the charm.
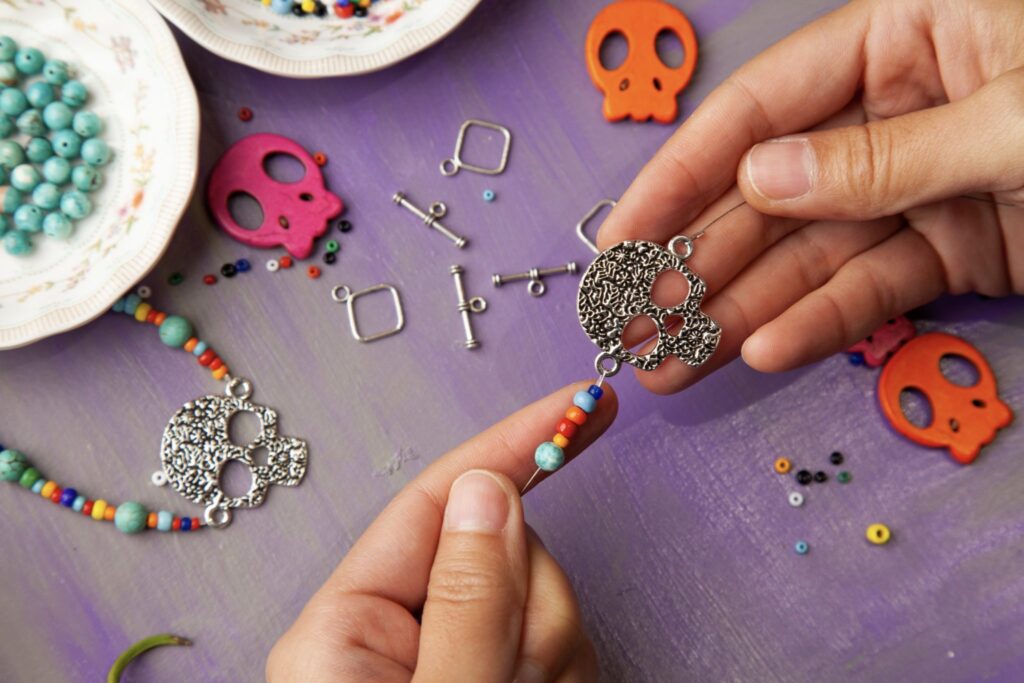
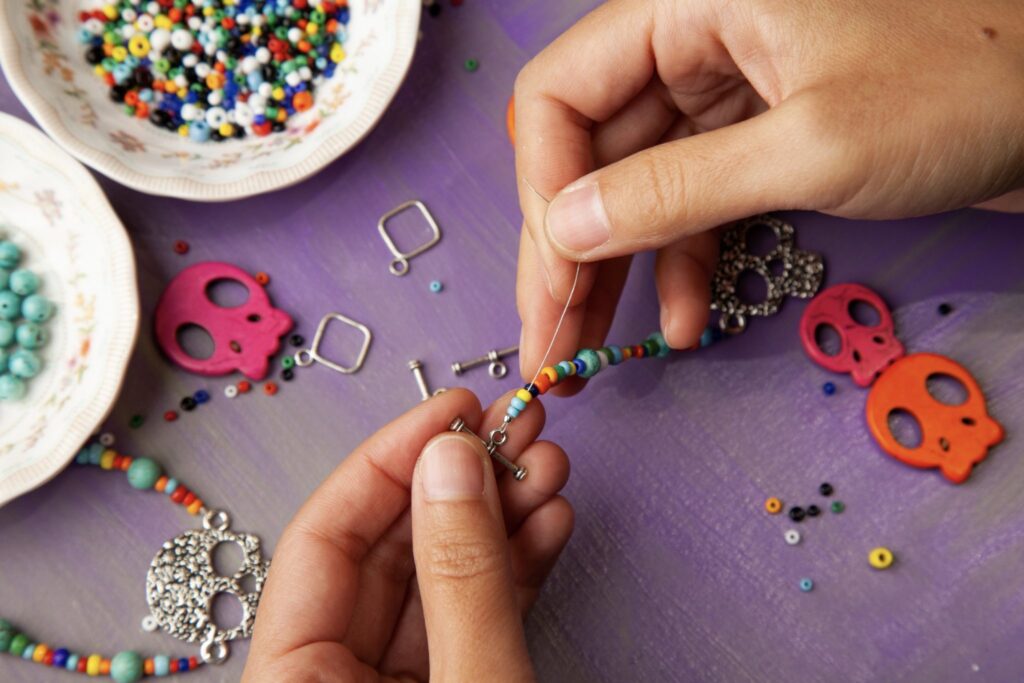
Step 3: Using different sizes and colors of seed beads, dream up your design! We went with a classic sugar skull palette, creating a lovely texture of different colors and sizes of beads. When sliding on your first couple of beads, make sure you tuck the end of the jewelry wire under the beads – you wouldn’t want it to stick out and poke your skin while wearing your bracelet!
Step 4: To start your beading, add half an inch of mixed seed beads onto the first string. To make your beading pattern really pop, add a round, turquoise bead as a secondary focal point of your design.
Step 5. Add one inch of seed beads and another turquoise bead.
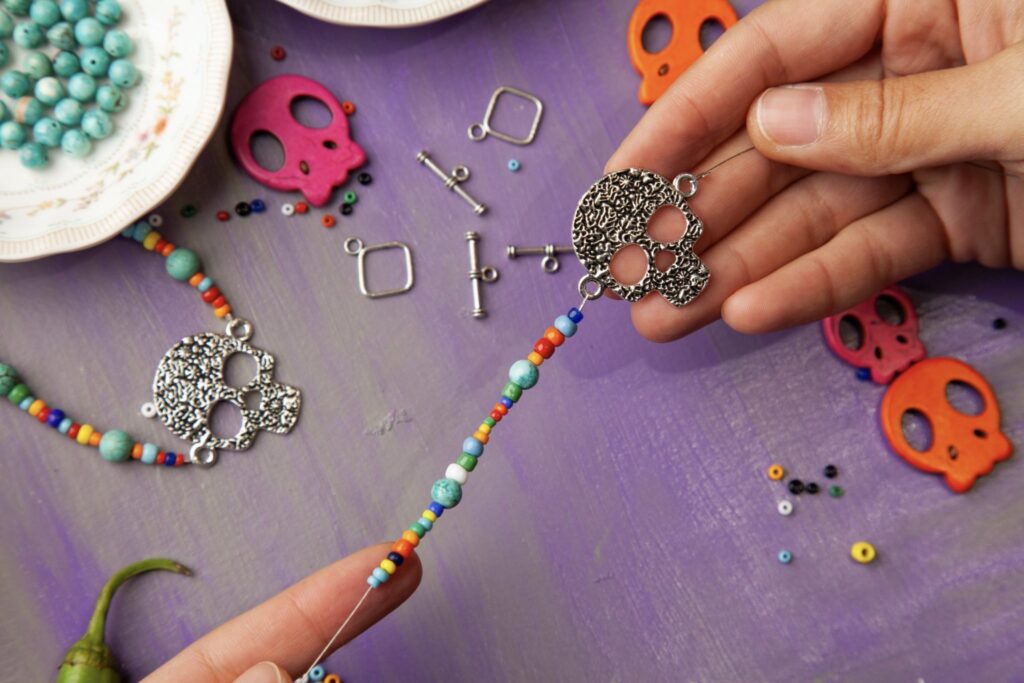
Step 6: Add one last inch of seed beads (you can make this section shorter if you need a smaller bracelet) and grab a crimp bead. We’re about to add on the first half of the toggle closure!
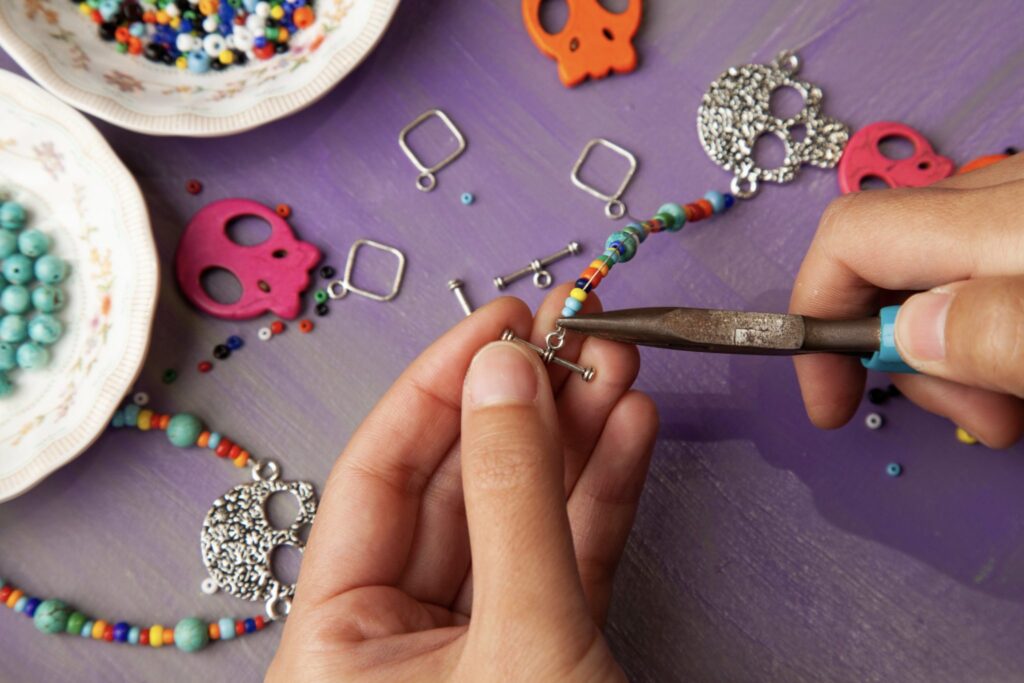
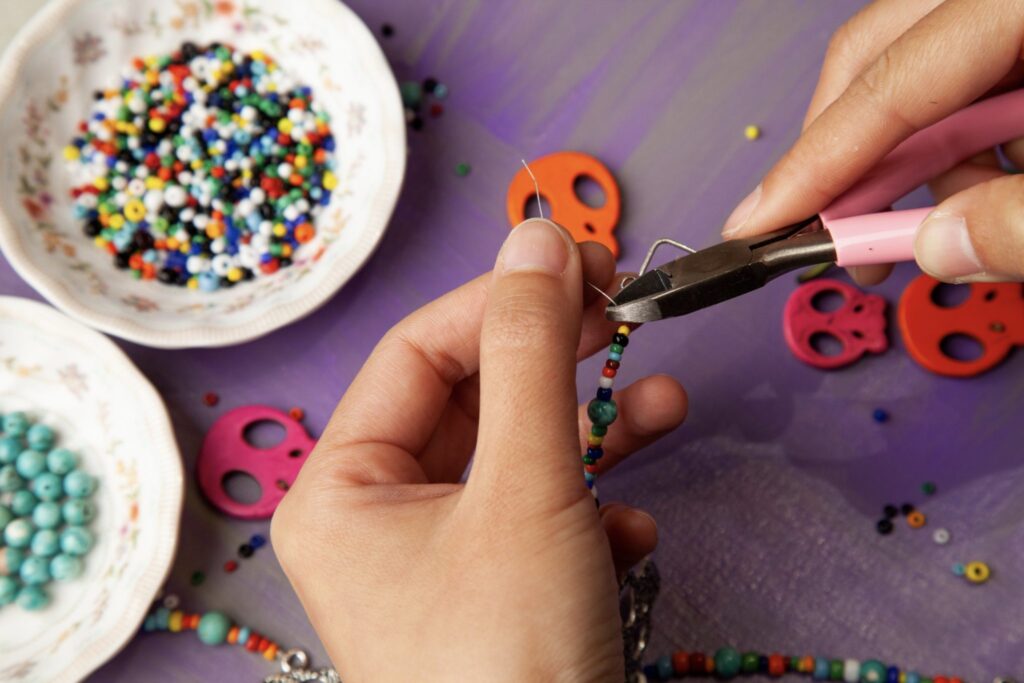
Step 7: Slide on the crimp bead over the colorful seed beads. Add the first half of your toggle clasp. Turn the remaining beading wire around to loop it into the crimp bead, as well as the last couple of beads on your bracelet.
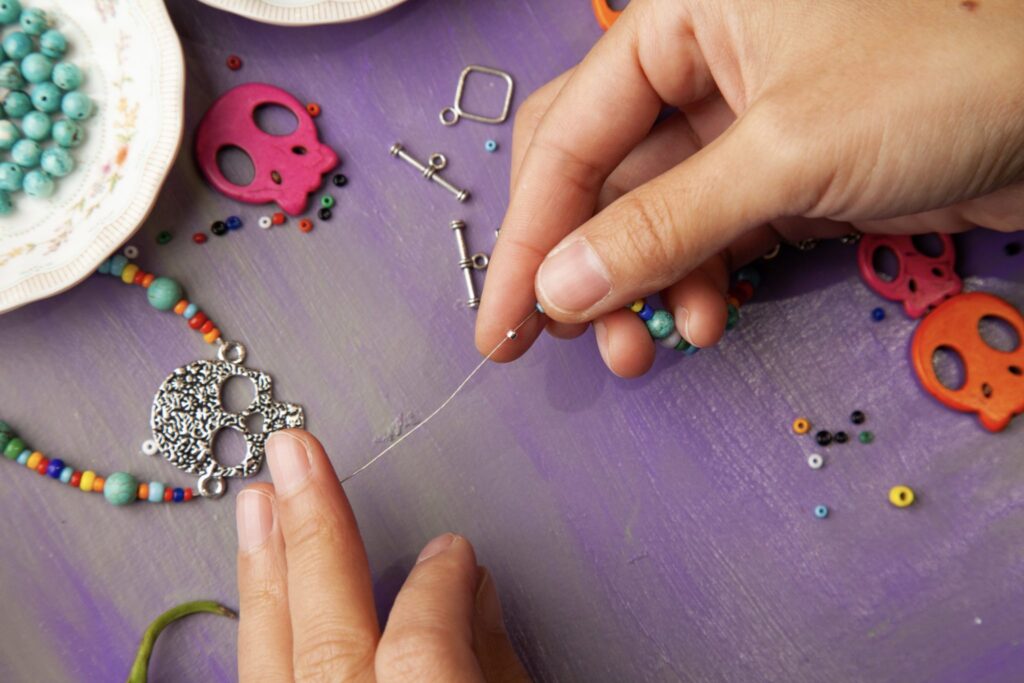

Step 8: Pull the wire through, looping in the toggle closure, making sure that it’s as close to the beads as possible, but has enough room to move around. Use the chain nose pliers to flatten the crimp bead, and use cutting pliers to trim the excess beading wire.
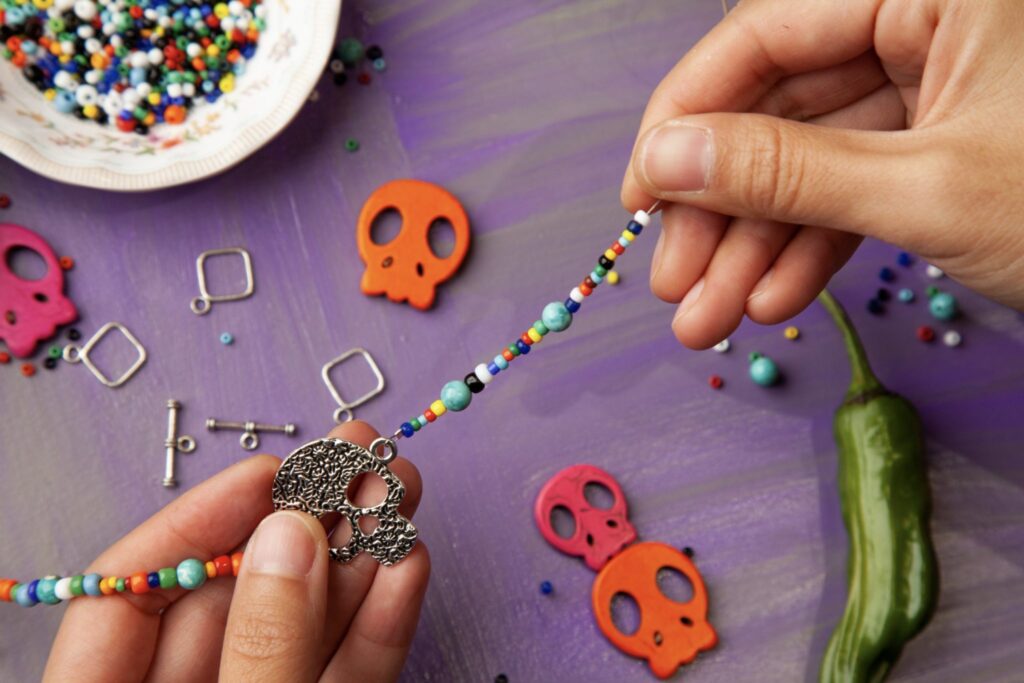
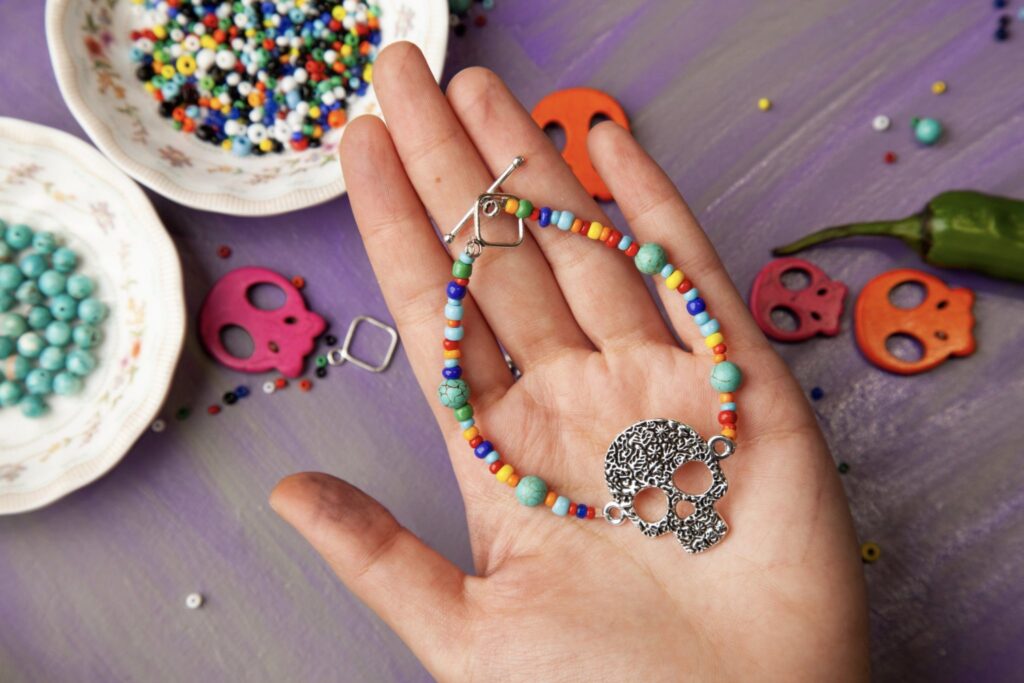
Step 9: Move onto the second strand of your bracelet. Duplicate the same beading pattern you did for your first strand, but don’t be afraid to mix up the colors and sizes! As long as the turquoise beads are positioned symmetrically, your bracelet will look fabulous!
Step 10: Once you have all your beads on, repeat the crimping steps for the other half of your toggle closure.
Step 11: Once you’ve attached your closure, you’re done!
We hope you’ve enjoyed learning about Día de los Muertos, and we would love to see your Sugar Skull Bracelet. Please share your finished creations with us on social media! Tag us on Instagram @hellodragonflyfun, then browse our collection of DIY jewelry-making kits to continue creating.