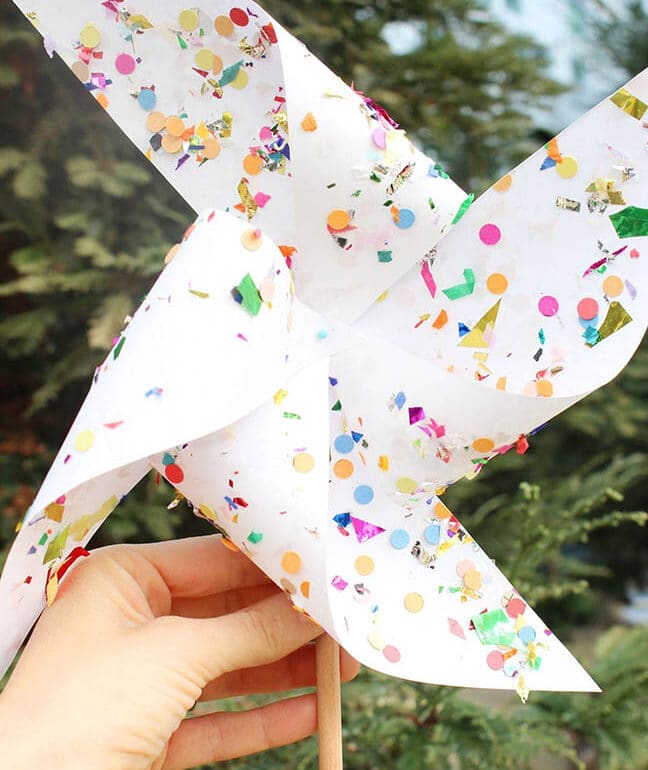
Pinwheels! They add cheer to a lawn or can be used in planter boxes or on the front porch as a way to welcome guests. Personally, I like to just hold them in my hand and blow to make them spin! The great news is they are fun and easy to make. Follow the instructions below and make a delightful afternoon craft with kids. This project uses common household items like a pencil, paper, scissors, and a pin–so no need to go shopping–win!
Of course, these pinwheels will actually spin in the wind, a sewing pin is used to secure the points of the pinwheel and we use a few beads (we can’t help it, we’re partial to beads!) on the back end before the point is inserted into a pencil eraser.
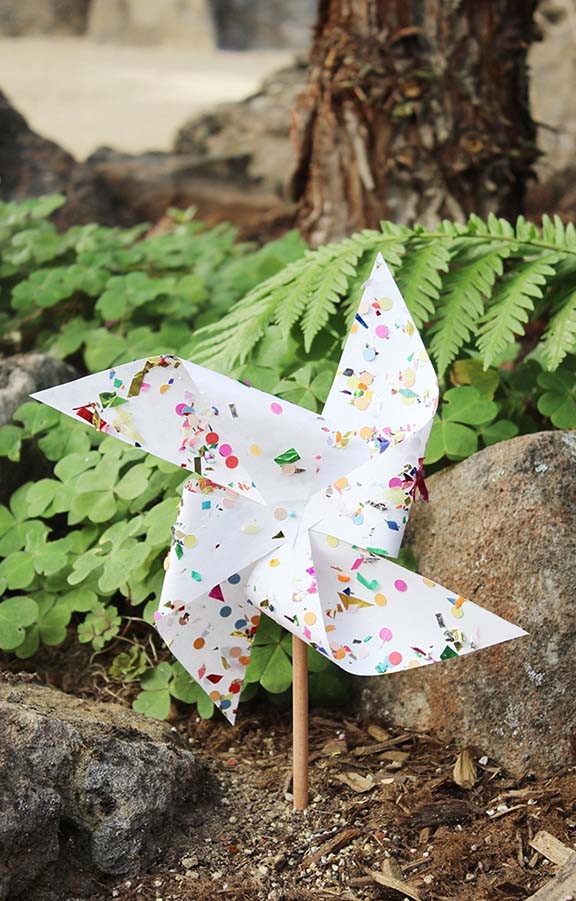
We also used a glue stick to decorate our pinwheel with confetti. Light bounces off the metallic pieces of the confetti when the pinwheel spins which creates a fun effect, but there are lots of other decorating options. Try using rubber stamps or watercolor paint. Make sure to decorate both sides of the paper before folding the triangles to center point to create a colorful pinwheel.
Follow the steps below to make this fun springtime craft!
– 8.5 x 11 paper. Printer paper is easy to fold, but if you plan to use your pinwheel in a very windy area, cardstock is sturdier.
– A dressmaker or glass head pin
– Scissors
– Pencil with eraser
– Two to three beads (use left over bead from your Bead Kit!)
– Pinwheel decorating supplies
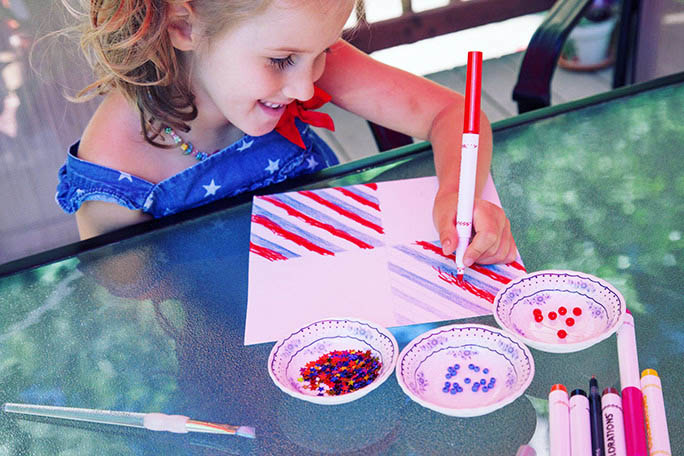
You can start by having your kiddos color a Pinwheel using the template above.
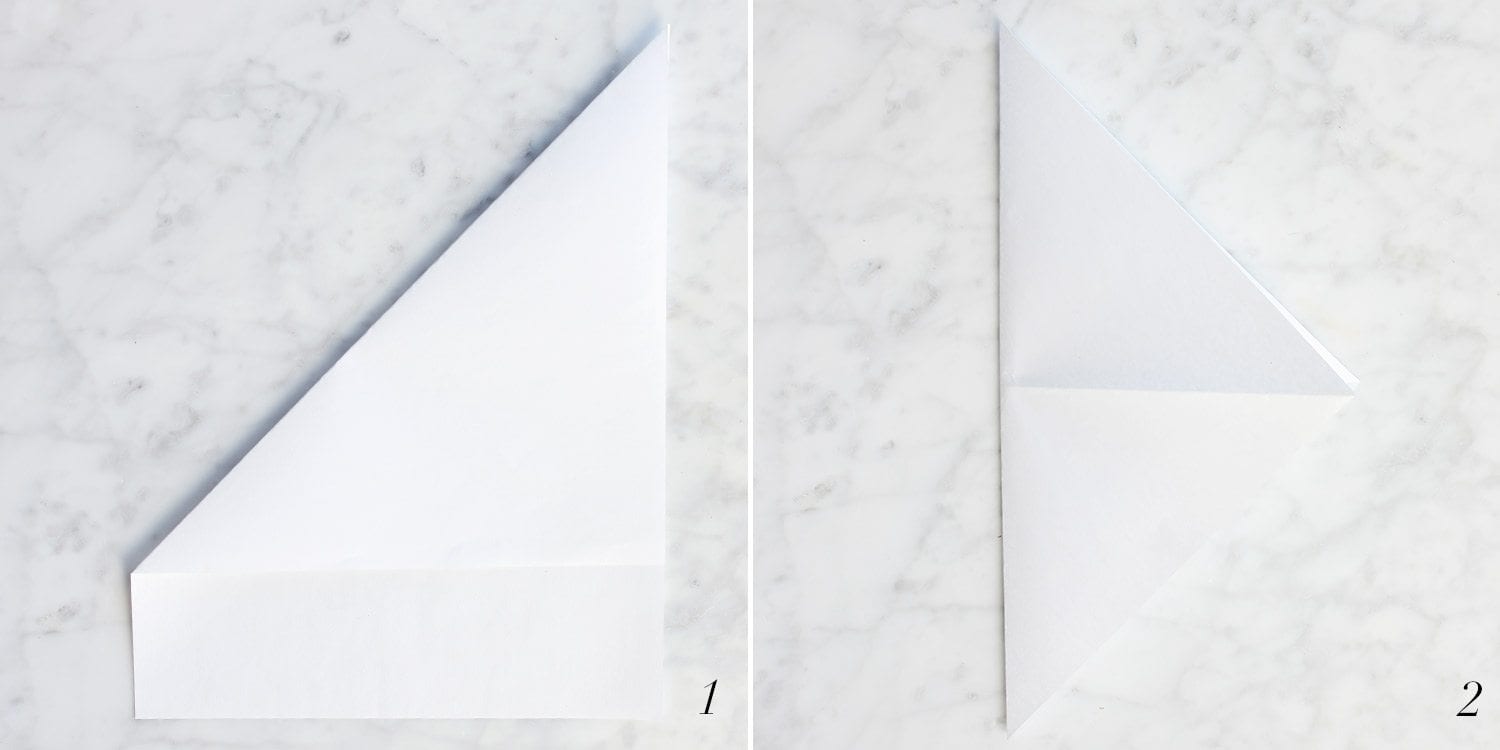
Step 1. Fold the top left corner of the paper to the lower right side to form a square. Cut off the small rectangle portion underneath the fold.
Step 2. Your square will have one fold in it. Fold the paper the opposite way to create one large triangle.
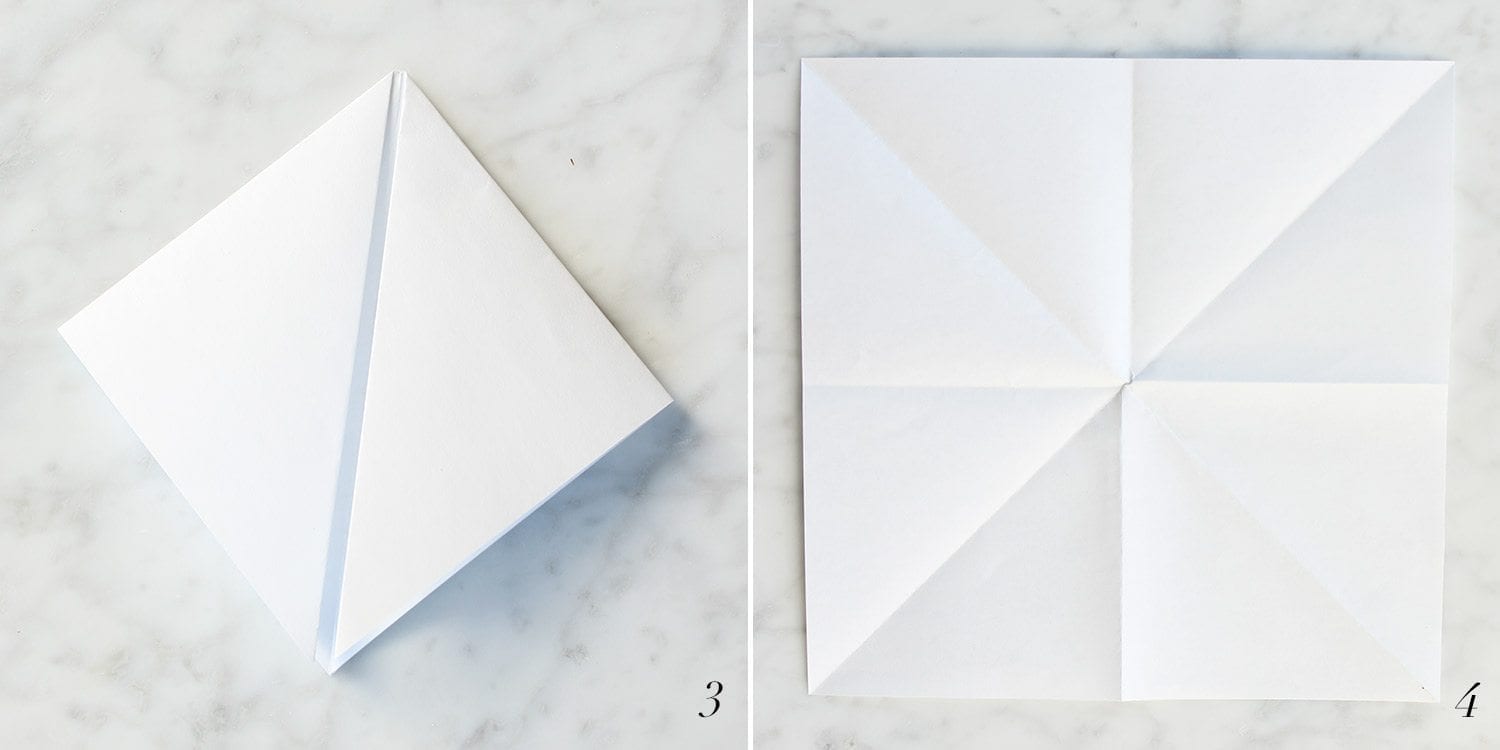
Step 3. Take the top and bottom points of the triangle and fold them to the right point of the triangle.
Step 4. Your square will now have eight small triangles when unfolded.
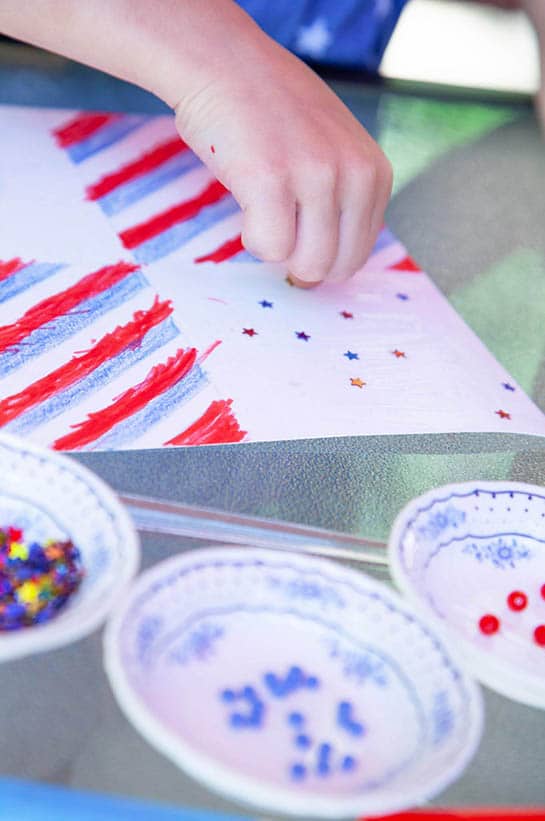
Step 5. Now is the time to decorate you pinwheel. Every other triangle will be folded inward so we decorated both sides of our pinwheel with confetti.
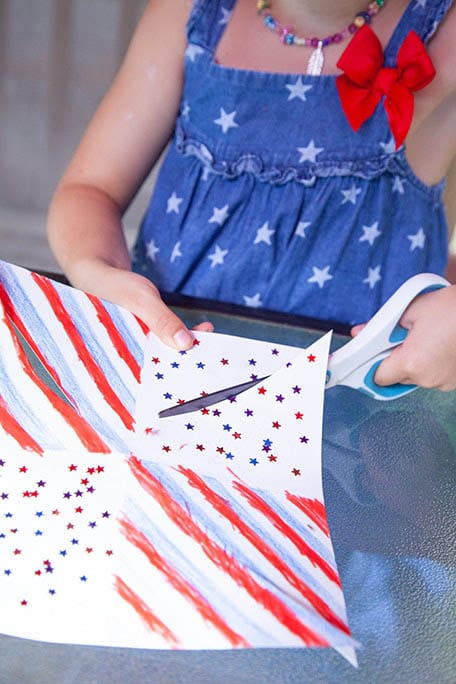
Step 6. Cut the folds on the four corners of the square, making sure to leave about a half inch uncut in the center.
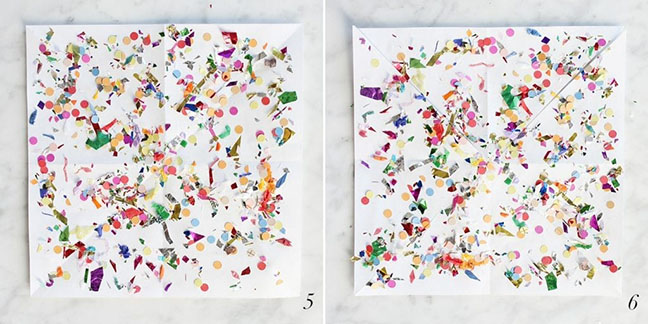
PRO TIP: Any color sequins will work. Try Red/White/Blue for the 4th of July!
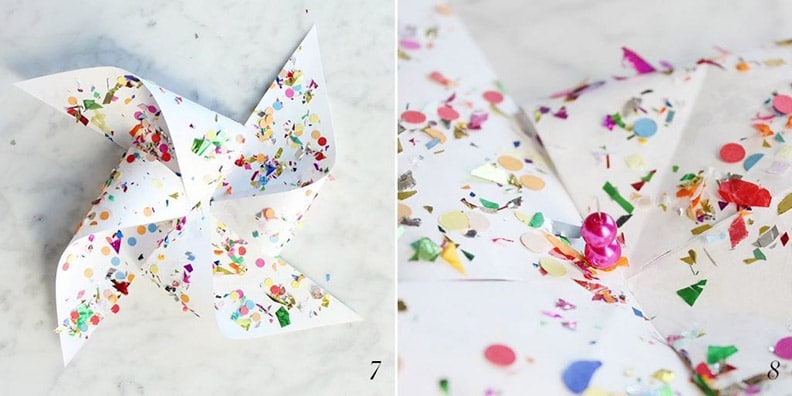
Step 7. Begin with the bottom left triangle and fold it inward toward the center of the pinwheel. Move counterclockwise folding every other triangle toward the center. Once you’ve gathered all the corners secure them with a pin.
Step 8. Flip the pinwheel over and use the beads fill in any extra space between the end of the pin and the eraser of the pencil. Adding the beading allows the pinwheel to easily spin. Push the end of the pin into the pencil eraser.
Download your template today and get spinning! Show us how your pinwheels spins by sharing with us on social media, @hellodragonflyfun!