For a cozy twist on a traditional winter wreath, we like to make a repurposed DIY sweater wreath. This wreath upcycles no longer used sweaters and lasts all winter long. It also doesn’t require sewing, so it’s super easy for kids to put together.
Now, obviously, when we say “no longer used sweaters,” we mean sweaters that you have the type of connection to that you just can’t get rid of them or sweaters that are not good to donate. We don’t want to promote the use of perfectly wearable or otherwise unimportant (to you) sweaters.
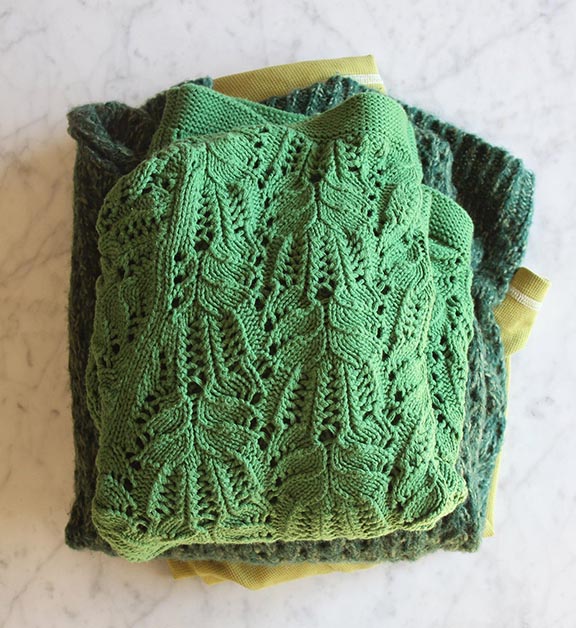
To create some texture variety, we have found that it helps to use at least three different sweaters. Or, you can repurpose some multi-colored sweaters and spice it up a bit! We made a patterned wreath by alternating pieces from our three sweaters, but it’s not necessary to arrange the squares in order to create a beautiful layered effect.
We chose to make a classic green wreath, but of course, we like the look of using adventurous colors too. (Black and orange Halloween wreath, anyone? Spring pastels? Yes, please!) We’ve also found that kids love to repurpose their favorite old sweaters that they’ve outgrown or worn out no matter what the colors are.
It’s time to Learn to Make a Sweater Wreath!
Materials:
3 or more sweaters
Burlap or another fun fabric to break up the pattern colors
Wire hanger
Wire cutters
Ribbon (optional)
Steps:
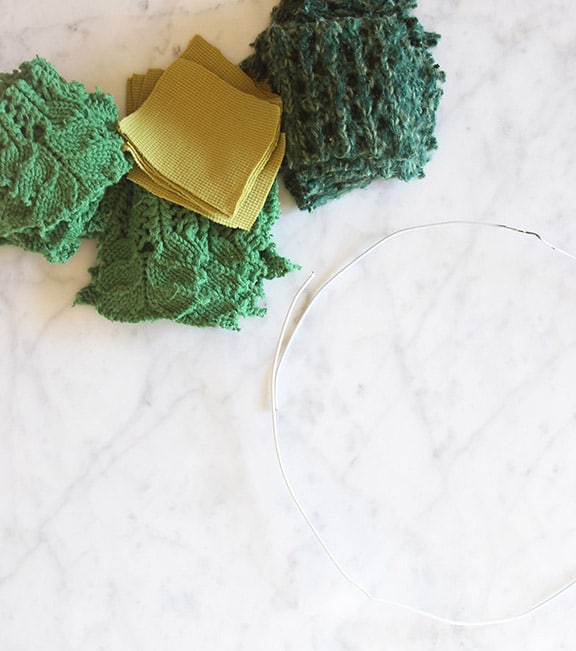
1. Cut the sweaters into equal size squares. We found 3” inch squares create a full-looking wreath that is still easy to put together. The average length of adult-sized craft scissors is three inches, so put your fabric fully into your scissor blades and cut from there. Also, feel free to cut a 3-inch by 3-inch template square and use that to cut fabric.
(Or if you’re really comfortable with fabric works, grab your rotary cutter and use your cutting board and large fabric ruler to cut it down. But please, if you’re using a rotary cutter, always watch what you’re doing with your hands and pay attention! If you are not familiar with rotary cutters, it can go wrong VERY quickly! Rotary cutters should also NOT be used by small children.)
2. Untwist the top of the hanger. Use wire cutters to cut off the twisted ends. From here, form the hanger into a circular shape with a little bit of overlap. You want enough overlap to twist the ends together after your fabric is all strung on!
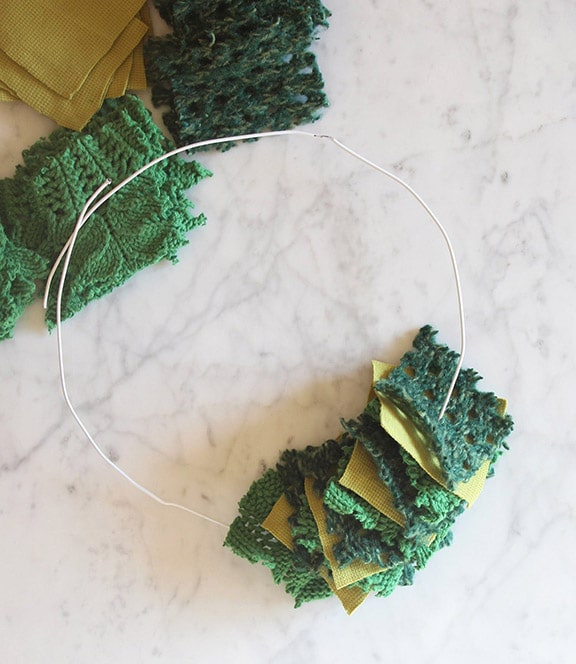
3. Use the end of the hanger to string a piece of the sweater. You want to pierce the fabric through the middle of the square so it lines up and all the pieces look relatively even at the end. Continue this process until the hanger is full.
Our sweaters are fairly chunky in nature, so we used two squares between each piece of burlap, but if you have thinner sweaters, or like it to be less broken up in color, feel free to put more sweater squares between burlap squares! The important part is that this is a unique wreath for your front door and that it’s specifically unique to YOU!
4. Twist the ends of the hanger together to connect the circle. Bunch the fabrics really tight on your wire before you twist it up. When you get it twisted, unbunch your fabric and spread it out so it’s a nice full wreath, not a super packed sardine-looking situation on your wire! Once you’ve got it all lined up and appropriately bunched, you can add a bow to the top of the wreath!
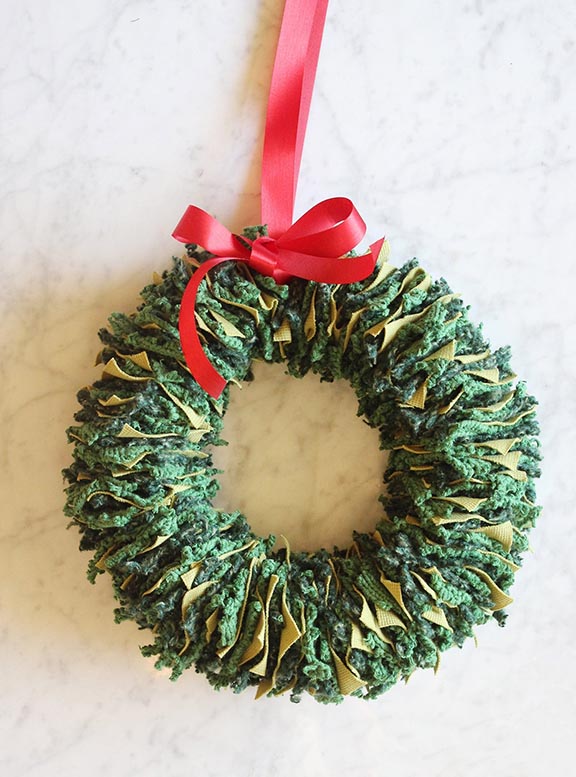
Voila! You have a unique wreath for your front door! And even better — it’s genuinely a personal wreath!
We can’t wait to see how you run with this idea. What colors are you using? Do you have any ways to add some easy and kid-friendly pizazz to this idea? Please let us know in the comments below! Let’s talk about it!