Calling all jewelry makers! This is a skill you will be glad to have in your crafting arsenal – the Adjustable Knotting Technique. This cool method allows you to create these popular beaded bracelets without having to use clasps. We know once you learn it, you’ll find yourself utilizing this building block again and again.
It also makes for a fun project to do with your kids (get ready because they will want to make them for all of their pals). With different combinations of beads and colors, it’s easy to personalize each one. You’ve probably noticed that both guys and girls of all ages are rocking these, including some of your fave celebrities!
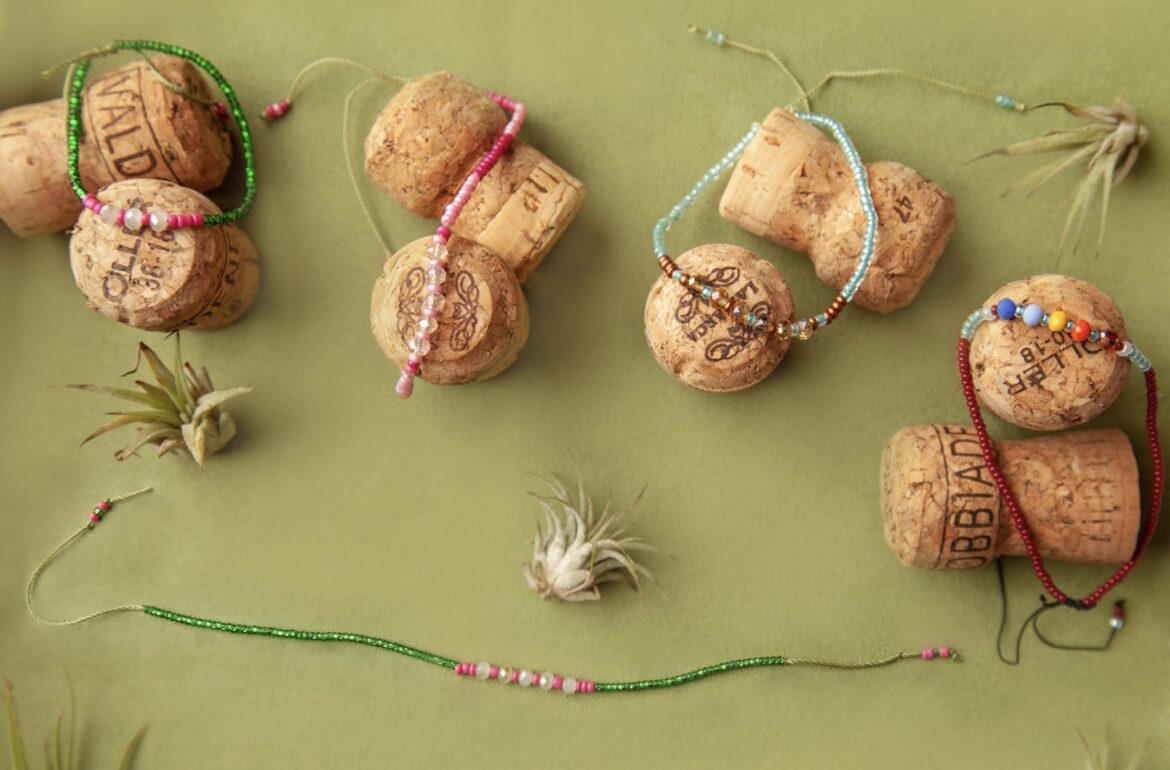
Whether you call it a beaded bracelet, a friendship bracelet, or a love strand – we’re going to show you how to make it right now!
– 2 pieces of silk cord (or dacron cord, silk cord, waxed Irish linen etc.)
– Beads of your choosing (make sure the bead holes are large enough to fit over the cord)
– Scissors
Click Here for Adjustable Knotting Kit
Step 1: Start your bracelet by cutting a piece of cord that’s about 3-4 inches longer than your wrist size. You can use very thin leather cord, waxed Irish linen, or silk cord like we did, for these types of bracelets.
Step 2: 2 inches from the end of your cord, tie a simple knot.

Step 3: String on your chosen beads – make sure you play around with color, texture, shape and size here. This is where you can get the most creative! Go for a refined, minimal look, or a burst of rainbow colors – the possibilities are endless and only you know what matches your personality the best! We loved cooking up these fun, candy-store inspired designs.

Step 4: Once all your beads are on, tie another knot on your cord. This should also be around 2 inches from the end of your string.
Step 5: Add a couple more beads of your choosing and tie a knot on the very end of the cord. Do this step on both sides of your bracelets.

Step 6: Take the ends of your cord, form a circle with your bracelet, and overlap the sections with no beads on them. Cut another piece of cord in a matching or contrasting color, that is about 4 inches long.

Step 7: Grab the two ends of your bracelet, and hold the first inch of the cord that will be your sliding knot, parallel to the bracelet cords.

Step 8: Fold the longer tail of your knot string over to create a loop on one side.

Step 9: Using your thumb and your index finger, hold onto all the pieces of cord. With your dominant hand, start wrapping the longer tail of the cord over the other three layers. Don’t do this too tightly just yet.


Step 10: Wrap the longer tail 4-5 times.


Step 11: Feed the end of tail through the loop on the left hand side of the knot.

Step 12: Grab both tails sticking out from both sides, and slowly but securely pull on them to tighten the knot completely.

Step 13: Tie simple, small knots, as close to your sliding knot as possible.


Step 14: Snip the ends of your cord off, to finish your sliding knot! And with that, you’re done! Time to make a whole bunch for your girlfriends! (Who says adults can’t totally rock friendship bracelets!)


With this technique, you are officially a jewelry insider! We’d love to see how you incorporated this method into your designs – so please share your completed project with us on social media!