It’s always a little bittersweet when the summer days come to a close. Instead of a mental list of fun activities you’re probably staring down a packed school calendar! And, school means all…those…school…lunches. I guess it’s time to re-read 12 Creative Ways to Make a P, B & J!
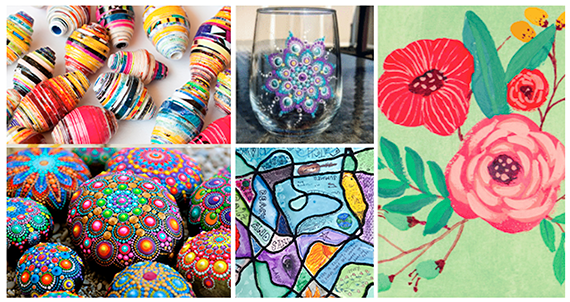
While the summer seems to give permission for unlimited imaginative play and artistic adventures, fall has its perks, too! Cooler weather and cozy sweaters go perfectly with hands-on craft time. We’ve got a super cool DIY Resin Bookmark project that can add a little fun and creativity to school reading. Every time you and your child use these, you’ll remember enjoyable time spent together. Make a few and you’ll have a sweet holiday gift on hand for family and friends.
So get that homework done and make your (book) mark!
– Bookmark Mold
– Resin
– Hardener
– Gloves
– Wax Paper
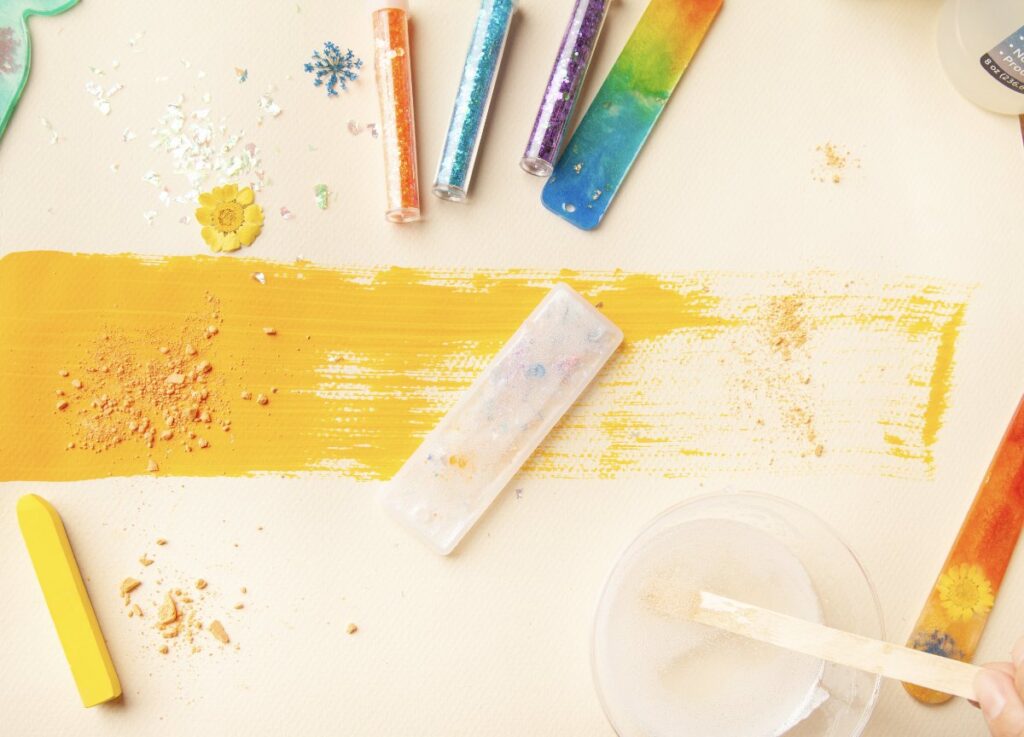
– Filling material (glitter, beads, pieces of leaves, charms, etc)
1. Make sure your work space is clean. You don’t want any wax, oil, moisture or dirt affecting your resin mixture. Lay down some wax paper.
2. Pour 5 cc of resin into a graduated cup.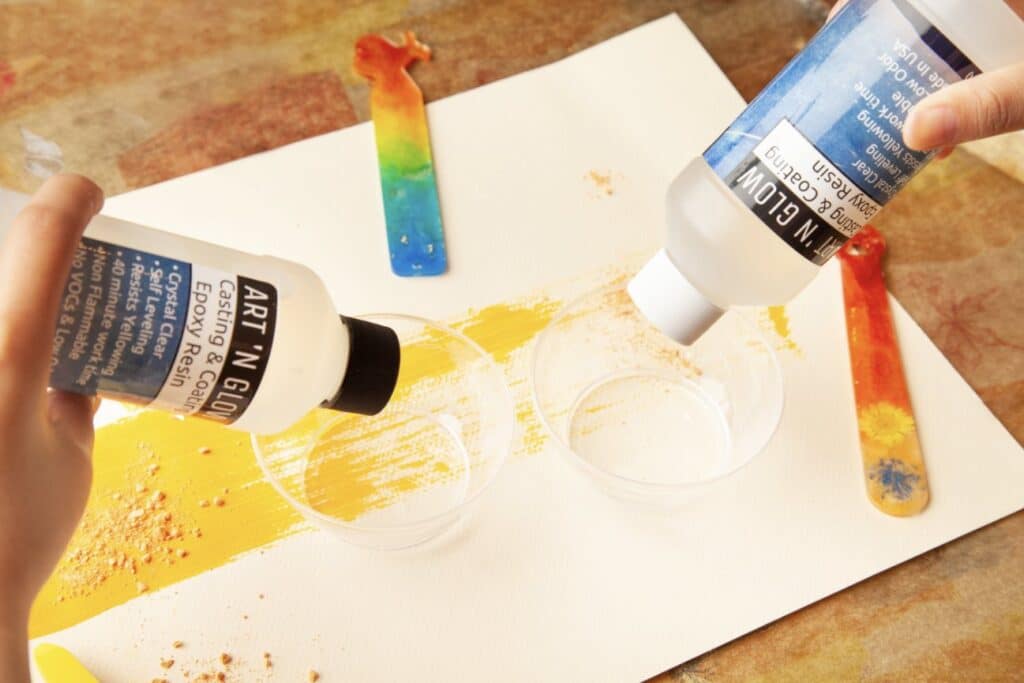 3. Add 5cc of hardener for a total mix of 10cc (always pour resin first). If you’re making a larger mixture make sure your ratio is always 1:1 to avoid issues with curing.
4. Fold the mixture onto itself slowly so as to not create bubbles. Avoid vigorously stirring. When the mixture is fully mixed it will be clear with no obvious streaks.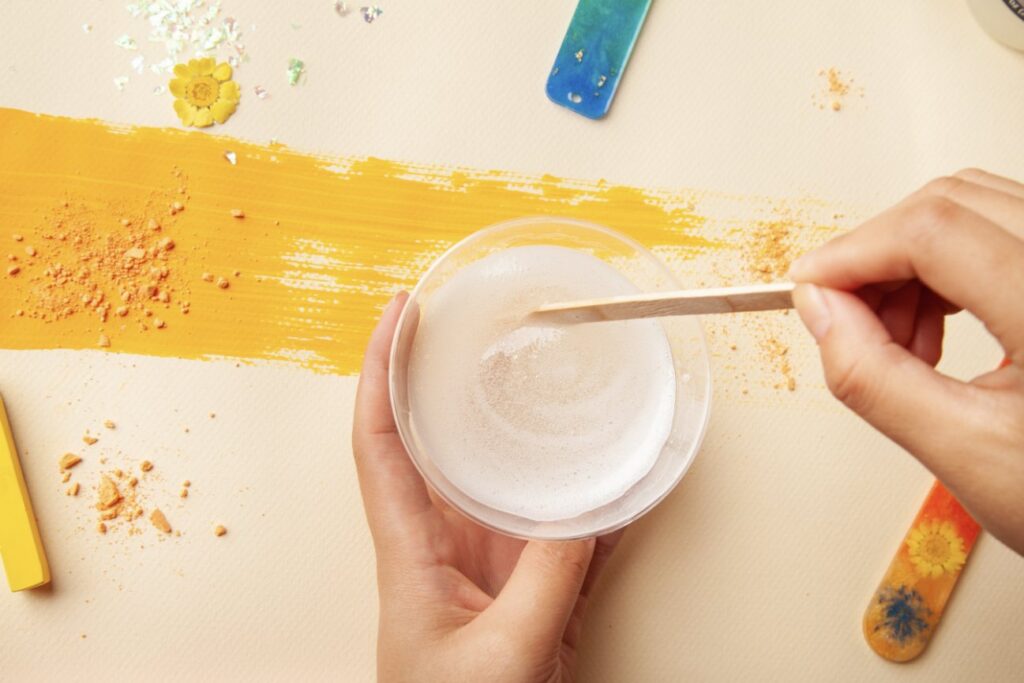 5. Now that it’s mixed, the resin can be worked for 45-60 minutes. Pour into bookmark mold. Before putting in your fillables, let the mixture sit for 5-10 minutes without disturbing it so the air bubbles can rise to the surface. You can gently tap the sides of the cup to help accelerate the process.
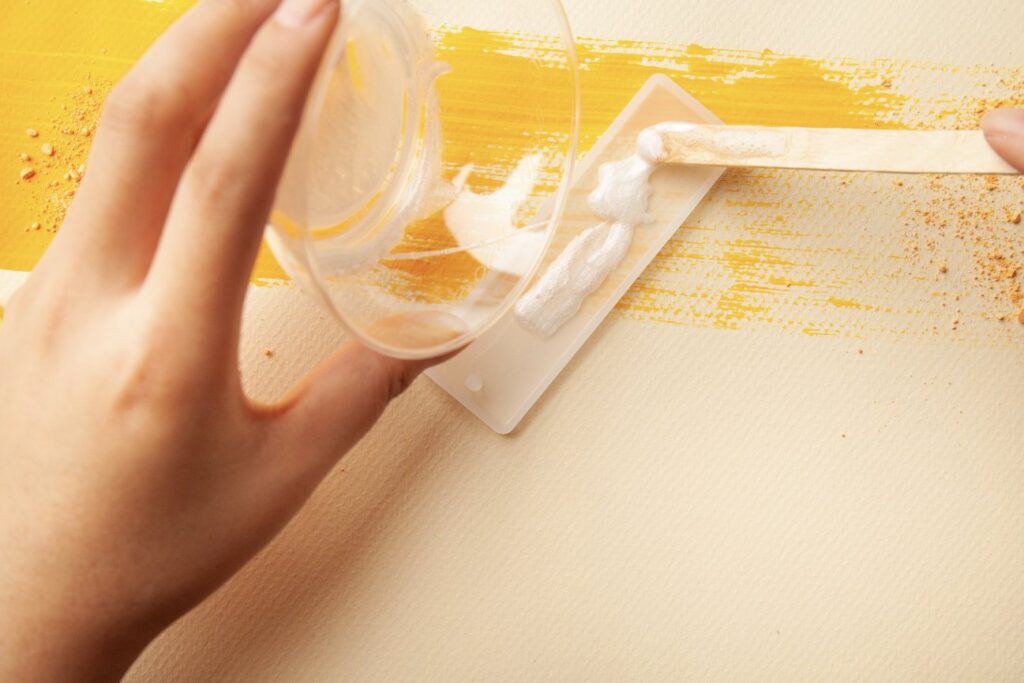
6. Now add your fillables of choice. 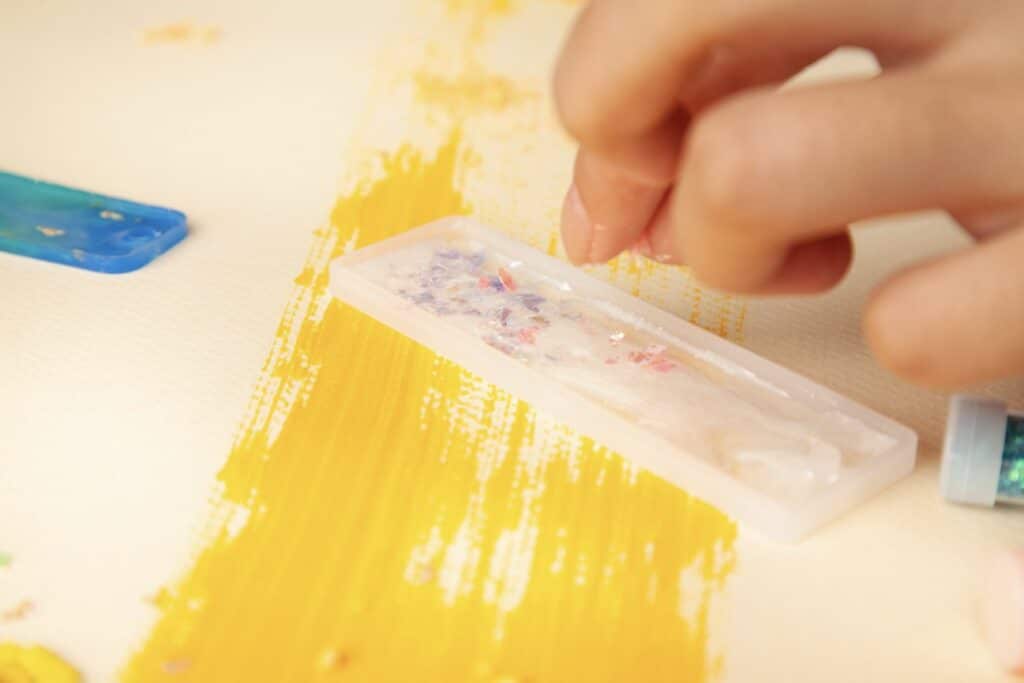
 7. Time to cure your bookmark! It needs 72 hours to sit in a room temperature space, ideally protected from dust, dog fur, or other potential contaminants. After one day it will be hard to the touch but not fully cured To heat-cure the resin mixture, follow the time chart below. Set the items on top of a toaster oven or similar low-temperature device, or under an incandescent light. Designate all devices you use for heat curing as non-food use.
Tip: When using a toaster oven, set the inside temperature to 350°F and stabilize for 10 minutes. Then reduce heat back to the minimum temperature before setting items to cure.
Tip: Monitor the heat cure area with a flat thermometer placed on the heated surface to avoid overheating the resin mixture.
Heat cure time chart:
– 6 Hours at 95° F
– 3 Hours at 120° F
– 2 Hours at 150° F
With these simple steps you’ll never lose your place making this Resin Bookmark. We’d love to see your creative bookmark designs – glitter, pigments, flowers (oh my!) – so share your completed project with us on social media!