Jewelry making is a fun and creative activities for children and adults. If you are just starting out this is the perfect project for you. With a few materials, including recycled materials from around the house, you can create unique beads and learn the fun of jewelry making.
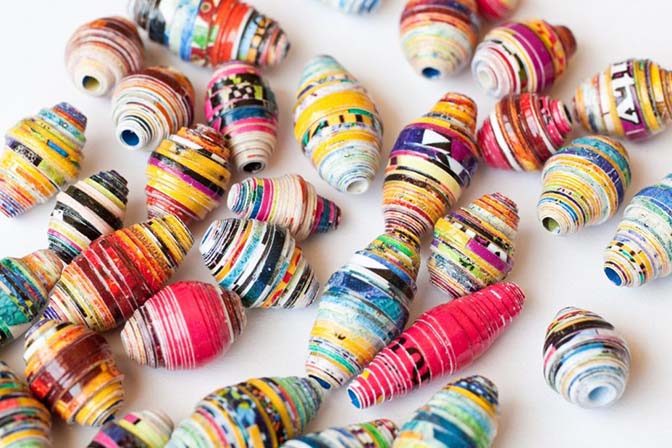
In this tutorial we walk through the process to create paper beads. These beads used recycled material such as newspaper, magazines or recycled printer paper to create something entirely different from its original use. These paper beads can then be combined with other beads to create beautiful and unique bracelets!
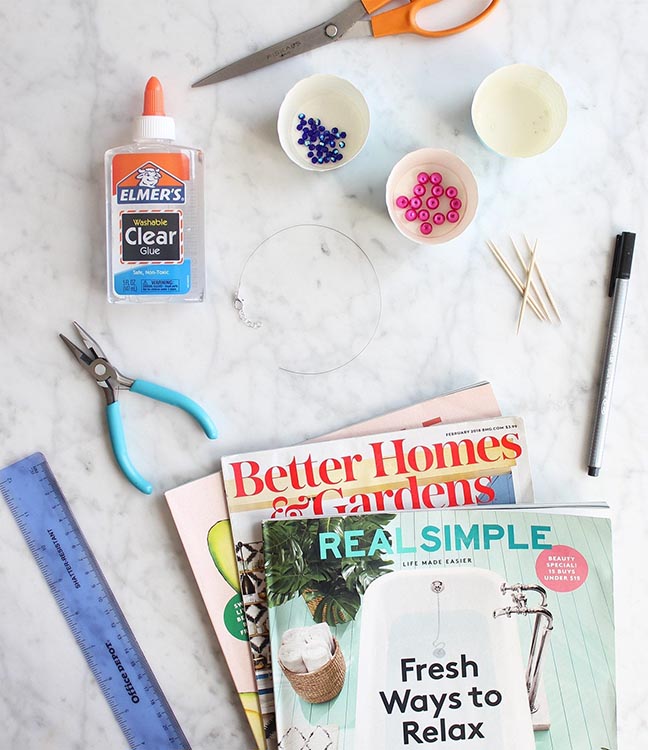
Download our freebie to take these steps on the go with you and for some awesome unique paper bead shape templates! If you need help picking out supplies, our bead kits are perfect for this project as well.
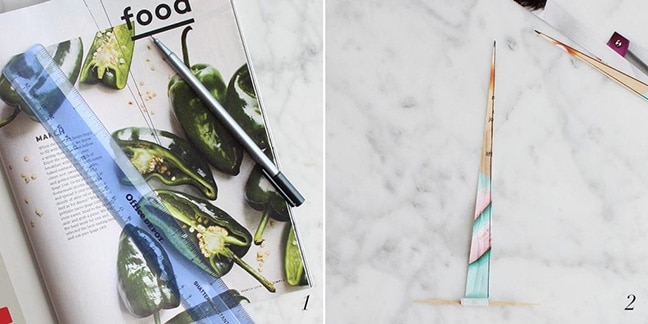
Step 1: Create strips from magazine pages by measuring 1/2-inch by 6-inch triangles. Use scissors to cut out the triangle. Repeat this process until you have about ten strips for a bracelet.
OR… Download our freebie for free paper bead templates to make picking shapes and following steps easier!
Step 2: Start 1/4-inch from the bottom of the triangle and glue a very thin line up the middle. Using a toothpick, start rolling from the widest point of the triangle to the narrowest.
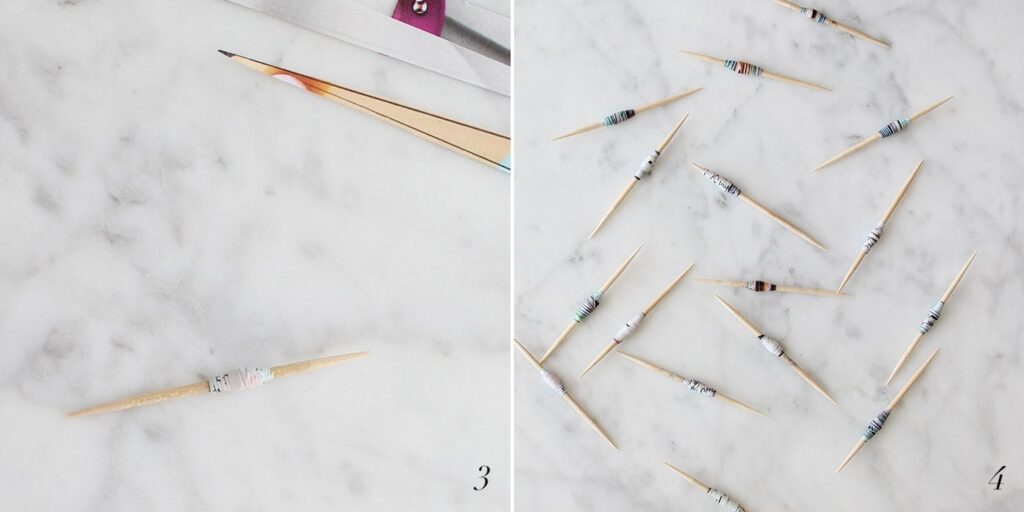
Step 3: Start 1/4-inch from the bottom of the triangle and glue a very thin line up the middle. Using a toothpick, start rolling from the widest point of the triangle to the narrowest.
Step 4: Add light coat of glue to the outside of your bead to make sure it’s secure. Continue this process until you’ve formed all your beads.
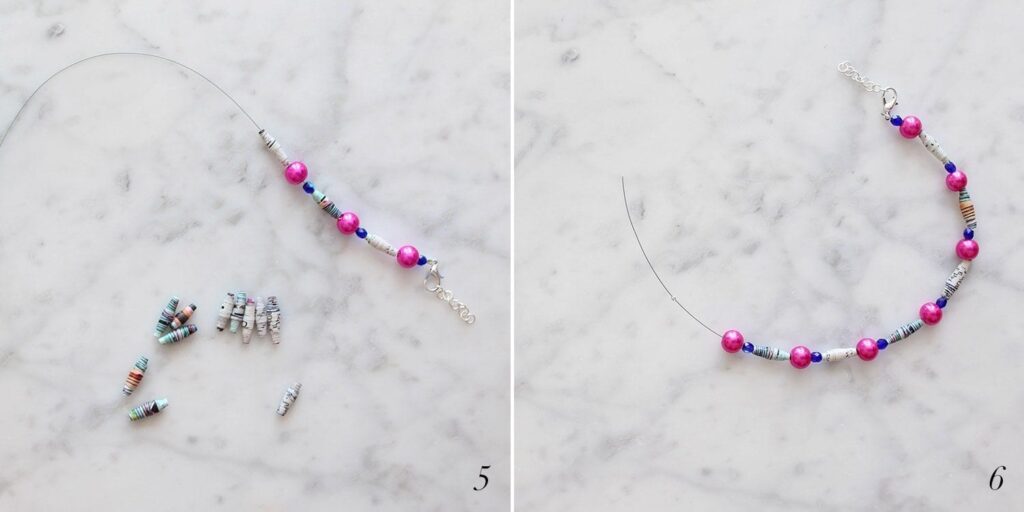
Step 5: Allow all your beads to dry fully (about an hour or so) before creating your jewelry.
Step 6: Begin making your bracelet by stringing beads on the pre-made wire. You can use all paper beads for your bracelet or include beads.
Step 7: Once you’ve completed your bracelet add a crimp bead to end of the wire.
Step 8: String the wire through the last chain on the opposite side of the bracelet and then back through the crimp bead.
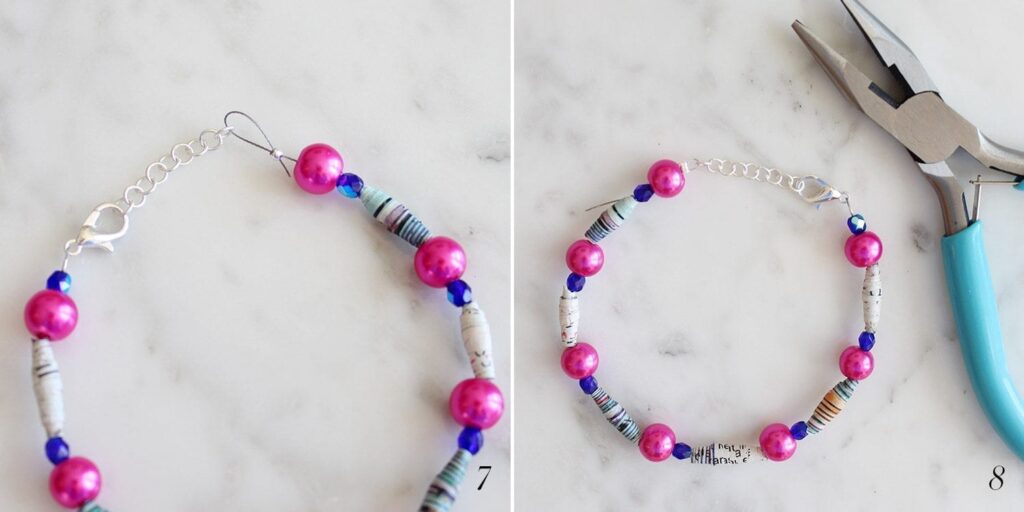
Step 9: Pull the wire so there’s no additional slack and run it back through a couple of your decorative beads. Use the chain nose pliers to flatten the crimp bead. Cut off any additional wire with the wire cutters.

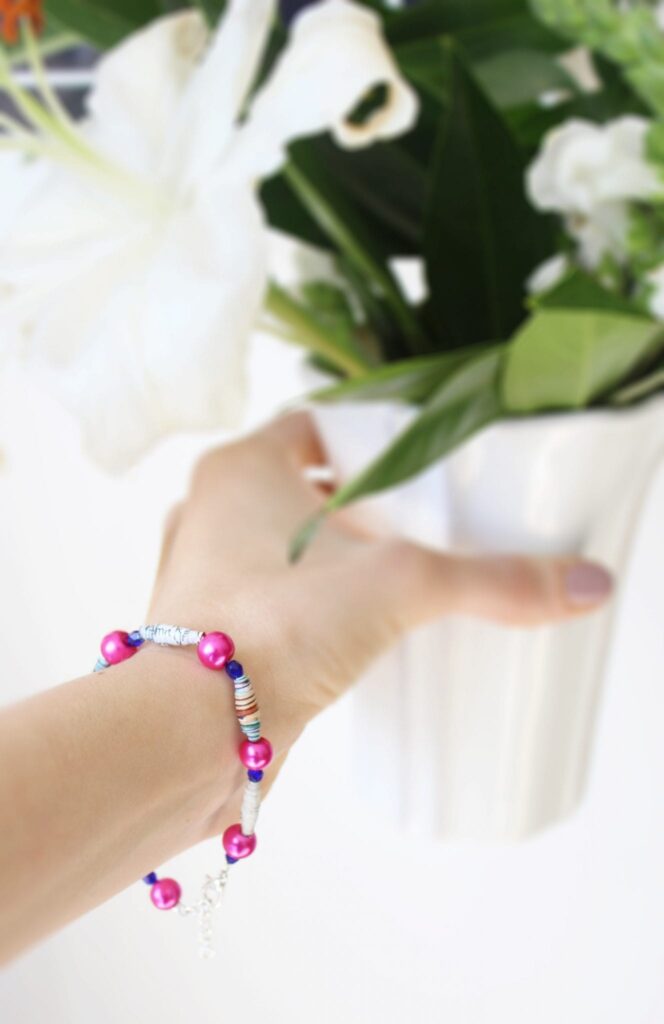
What paper worked best for you in creating these awesome beads? Let us know by sharing pictures of your project on social media and tagging us @hellodragonflyfun!