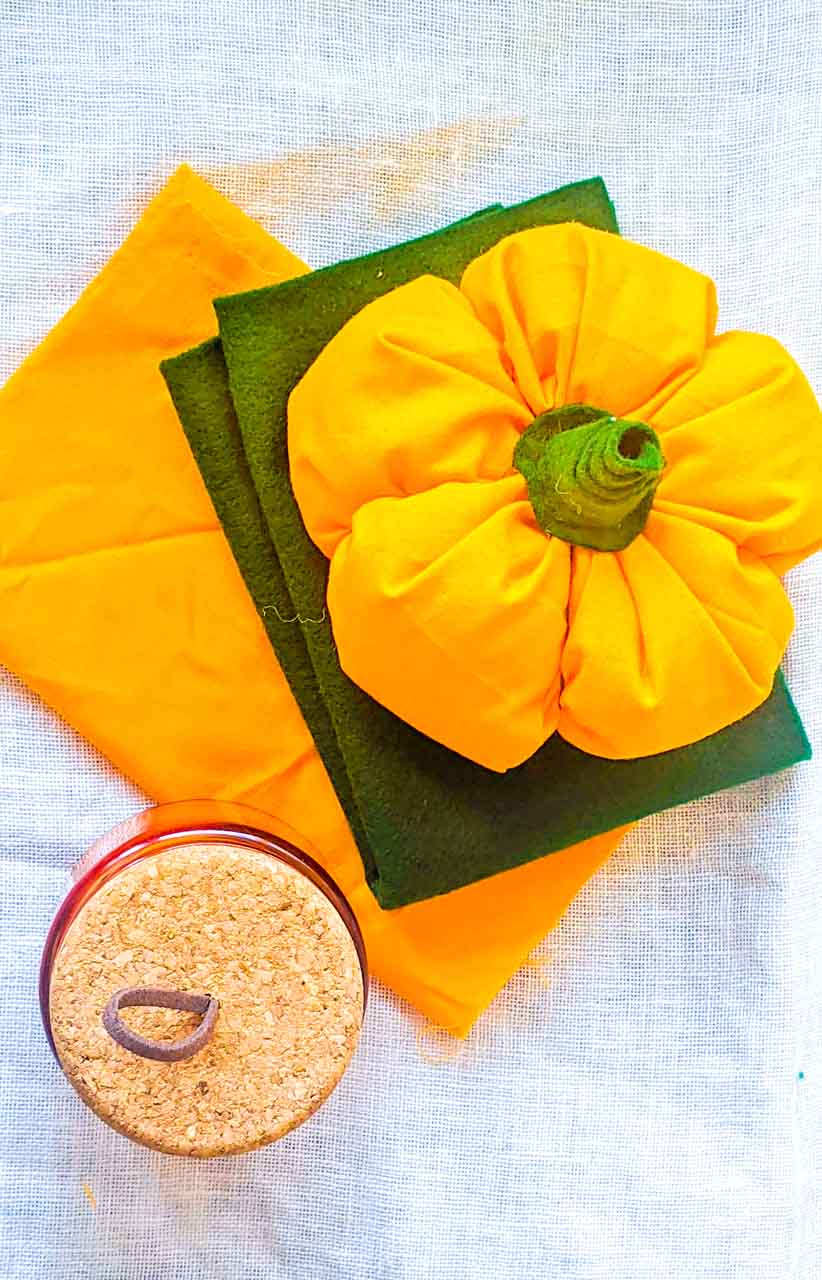
Fresh pumpkins are festive and fun, but as we all know, after a month or two they end up in the trash bin. These adorable Fabric Pumpkins can be enjoyed year after year, from the first day of autumn to your Thanksgiving table! You can personalize each one by using a variety of colors, patterns, and textures. This project is perfect for using upcycled cloth leftover from your past projects!
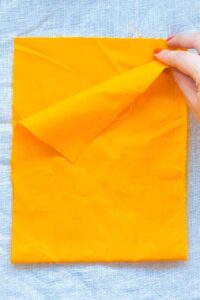
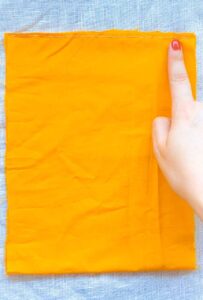
Step 1: Flip the fabric over so the inside is showing. Fold the 17” x 7” fabric in half making sure the ends meet.
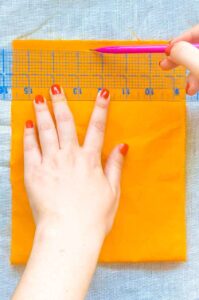
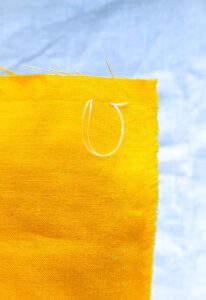
Step 2: Use a ruler to mark a straight line a couple of inches from the edge of the fabric. This will serve as a guide while you sew the edges together. You are going to make a backstitch along the line you just made.
Step 3: To make a backstitch, poke the needle from beneath the fabric, then push the needle back down further along the line. Pull gently, but tightly until the first stitch is secured.
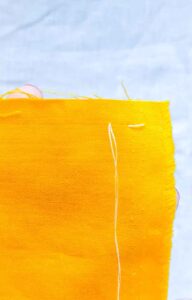
Step 4: Poke the needle through the fabric again further down from the first stitch. Then push the needle back into the first stitch. Pull gently, but tightly.
Step 5: Continue this process until the entire side is sewn up.
Step 6: Next, you will make a gathering stitch along one of the openings. The gathering stitch is a simple in-and-out through the fabric. Stitches should be spaced out all along the circumference of one of the openings.
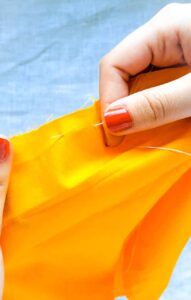
Step 7: When you reach the end, grab both ends of the gathering stitch and pull tightly to close the opening. Tie a tight knot to secure the bunched end.

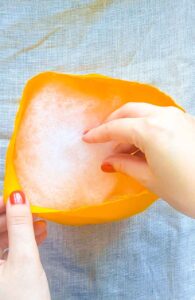
Step 8: Next, turn the pumpkin inside out (the bunched end and the seam are inside) and fill with stuffing.
Step 9: Make a gathering knot in the remaining opening. Grab both ends of the gathering stitch and pull tightly to close the opening. Tie a tight knot to secure the bunched end.
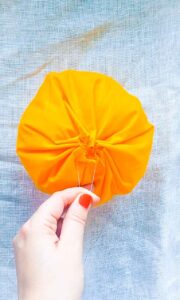
Step 10: Now grab the embroidery floss.
TIP: take a couple of strands off of the embroidery thread to make it easier to pass through the fabric and tie a knot at the end of the needle.

Step 11: Pass the needle with the thread through the center of the pumpkin until it comes through the other side.
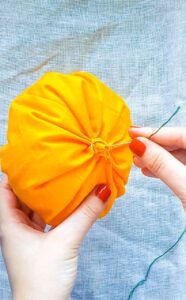
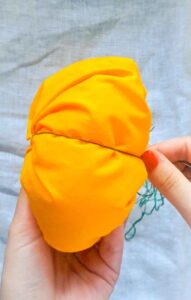
Step 12: Wrap the thread around the outside of the pumpkin. Then push the needle back through the center and out the other side and pull the thread to tighten. Continue doing this around the pumpkin 5 times to create the ridges of the pumpkin.
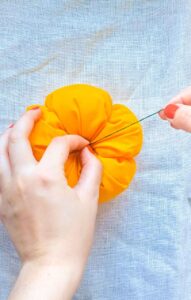
Step 13: Once you are done make sure you secure the thread by creating several knots to prevent it from unraveling.
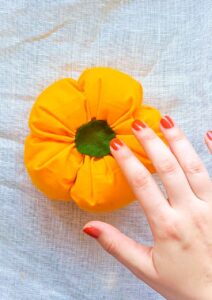
Step 14: Next cut a small circle out of felt or scrap fabric and hot-glue it on the top of the pumpkin.
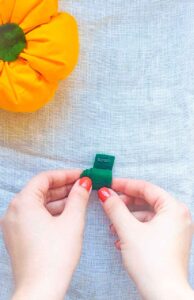
Step 15: Now for the stem! Roll a piece of felt or scrap fabric up and use hot glue to close it. Adjust the stem to your liking.
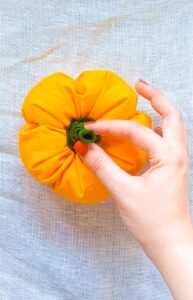
Step 16: Hot glue the stem on top of the pumpkin and enjoy your new Autumn decoration!
Be sure to make extras for family and friends! Tuck these sweet gourds into a gift basket with hot cider mix, a mug, and a loaf of pumpkin bread. If this craft left you inspired, browse our blog for many more DIY home crafting tutorials!