Ahhhhh…Valentine’s Day. A holiday we embraced happily as kids (remember passing out your cards and candy to your classmates?) and sometimes fear as adults! There can be a lot of pressure and expectation on this sanctioned day of love. There’s a reason vendors are on the street corners selling balloons and those carnival-quality bears for husbands and BF’s who are desperate. If you’ve ever been on the receiving end of one of those last-minute gifts, it’s probably safe to say your evening resembled A Marriage Story more than This Is Us!
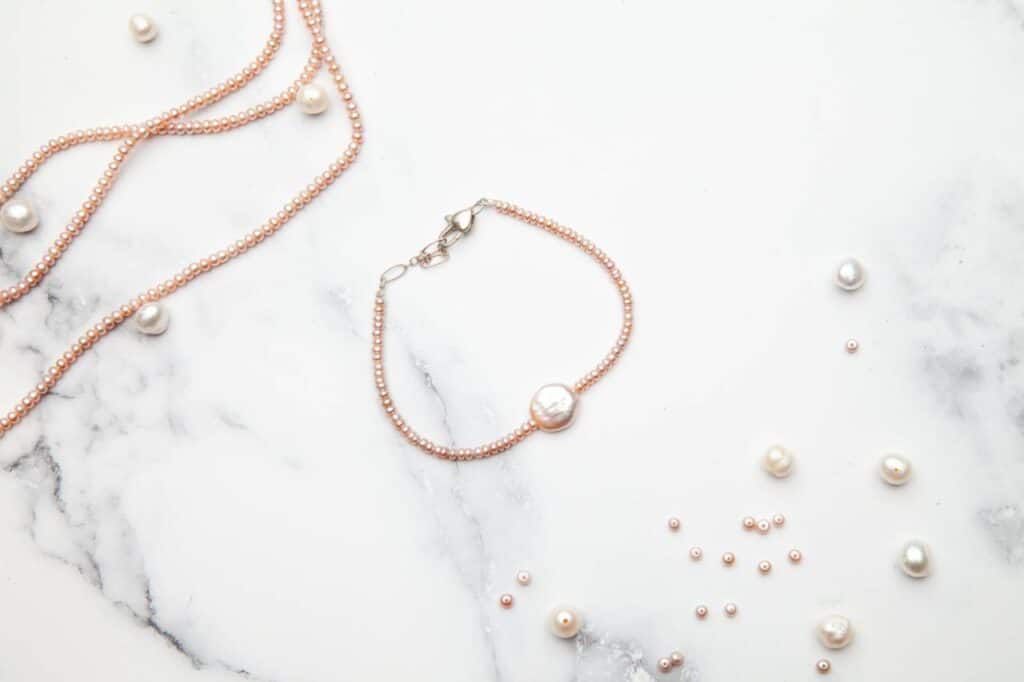
One way to strike a chord and not a sour note this Valentine’s Day is to get back to what we used to love about the occasion! Give a handmade, heartfelt and PERSONAL gift to your sweetheart, spouse or child. You know a lot better than Hallmark what makes their heart tick! Reflect on why you care so much about them, experiences you’ve shared and what the future holds. Think about their love language: Acts of Service, Receiving Gifts, or maybe Words of Affirmation? Our Valentine’s Foldable Box + Love Notes covers all three! And best of all, while it will be priceless to the recipient, it won’t break the bank! We’ve created a FREE template for you to customize an adorable box to hold love notes and instructions to make a pretty Single Strand Bracelet, a daily reminder of how much you care. Don’t worry if you aren’t super crafty – this project is easy for all ages. A special activity for Dad and the kids to do for Mom or as a sweet shout out to your girl crew. It also makes a thoughtful gift for a special teacher, sitter or coach.
You can add your personal touch to every part of this craft!
Get excited about Valentine’s Day again! We hope you feel the love making this gift for your special someone!
Happy Valentine’s Day! ❤️
Dragonfly Designs
Everyone learns differently, so we thought we’d include a quick video on how to start jewelry in addition to the steps below! Let’s get creative!
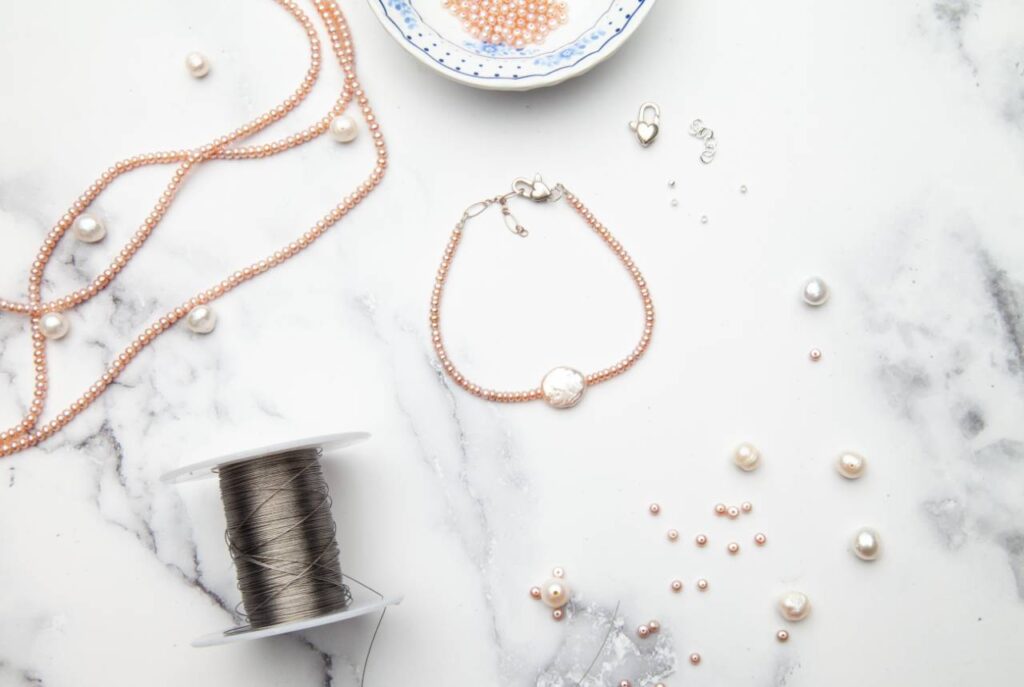
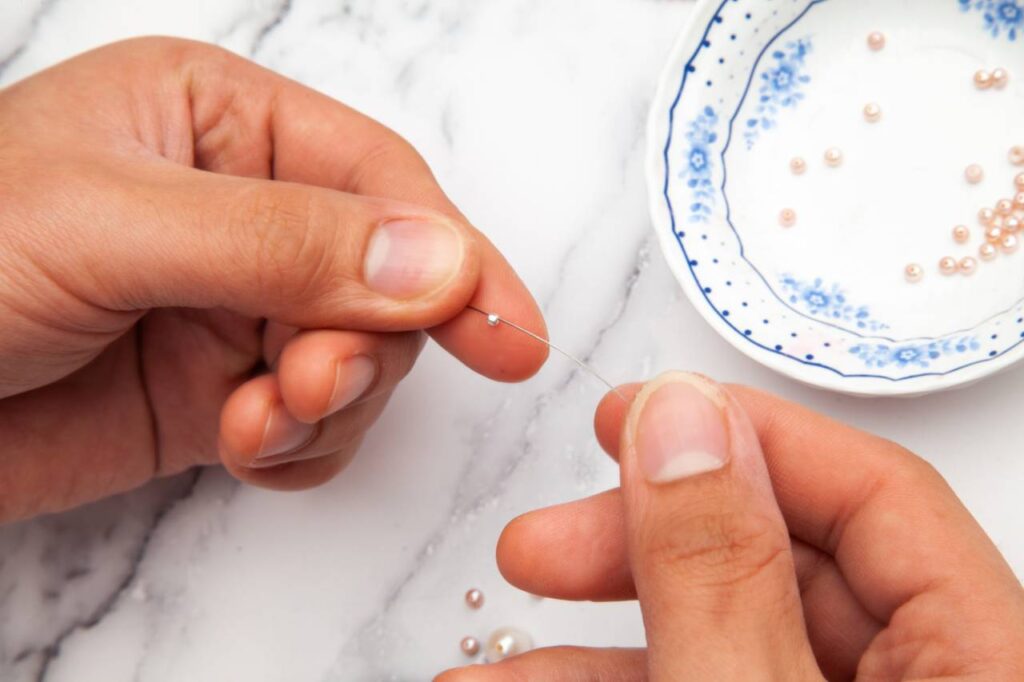
Step 1: Measure your wrist by wrapping flexible beading wire around it, in a way that it fits comfortably. Cut a strand of wire that is about 4” longer than the finished length of the piece you plan to create. Grab some bead stoppers, a crimp bead, lobster clasp, extension chain, and either chain nose or crimping & flush cutting pliers!
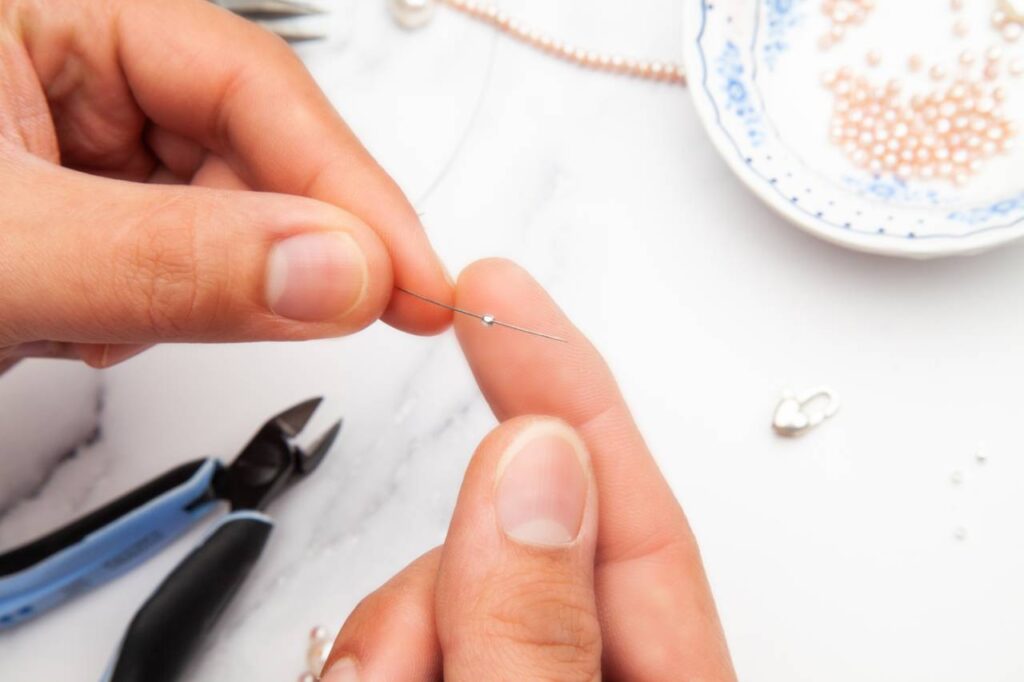
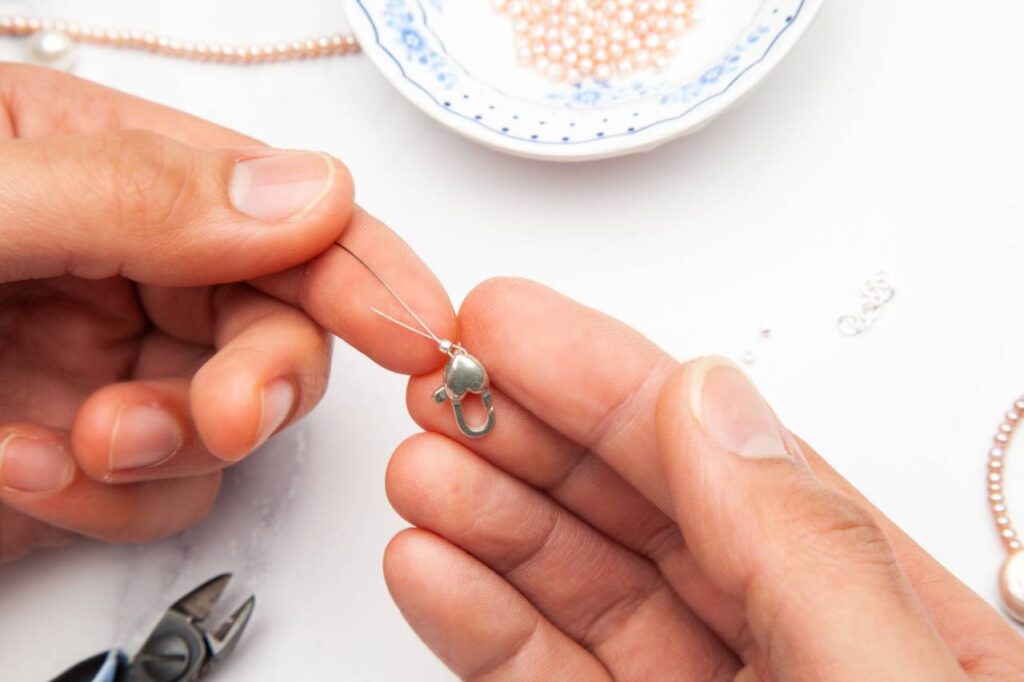
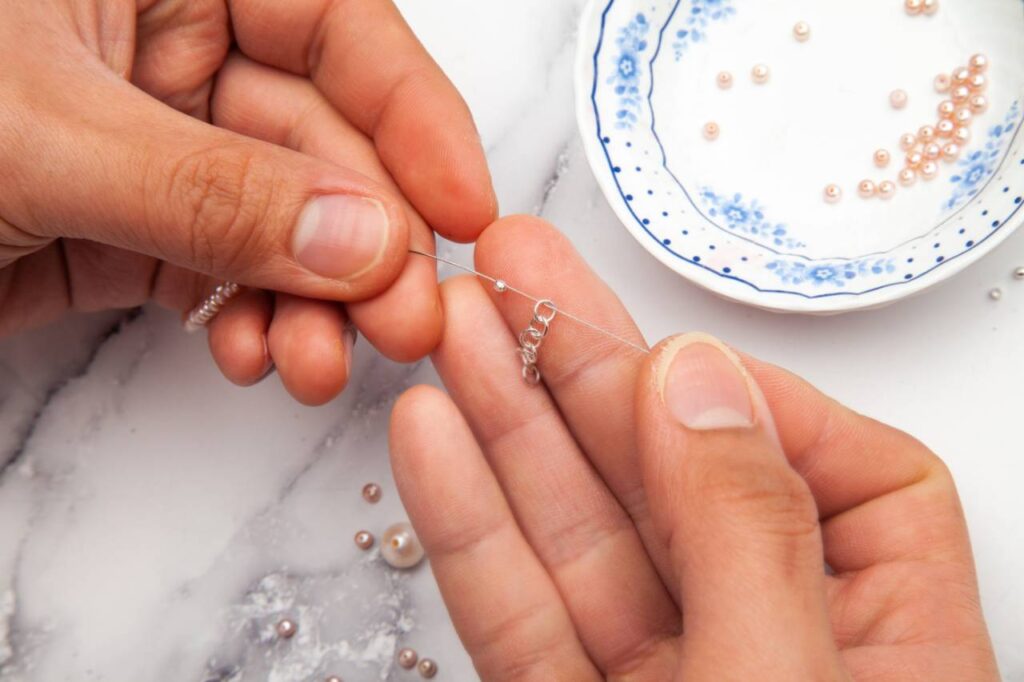
Step 2: String your crimp bead first, then your lobster clasp.
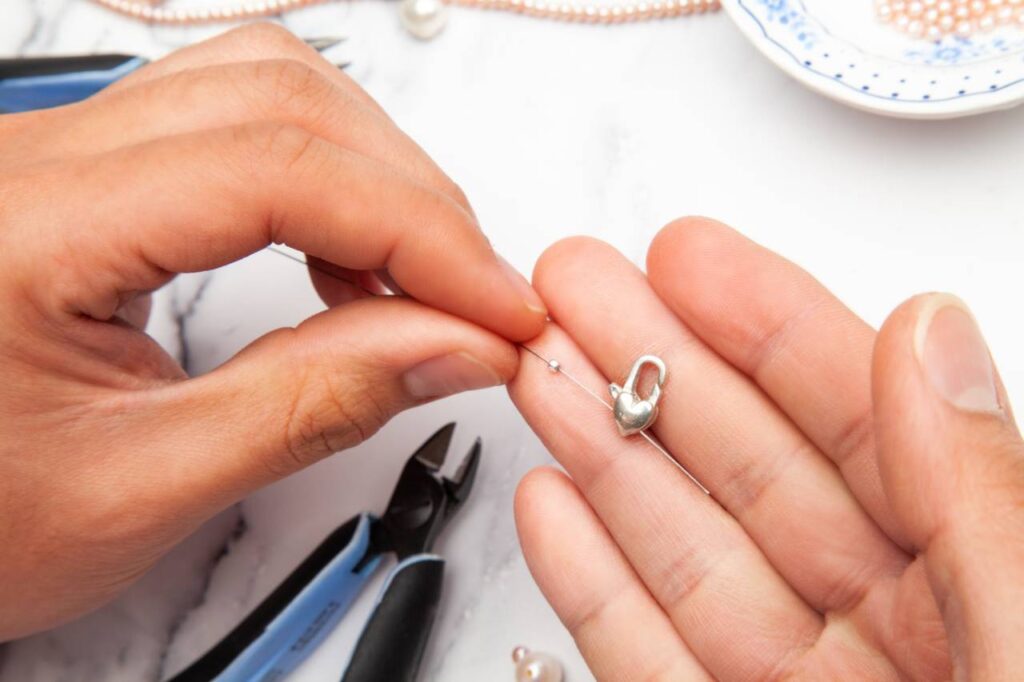
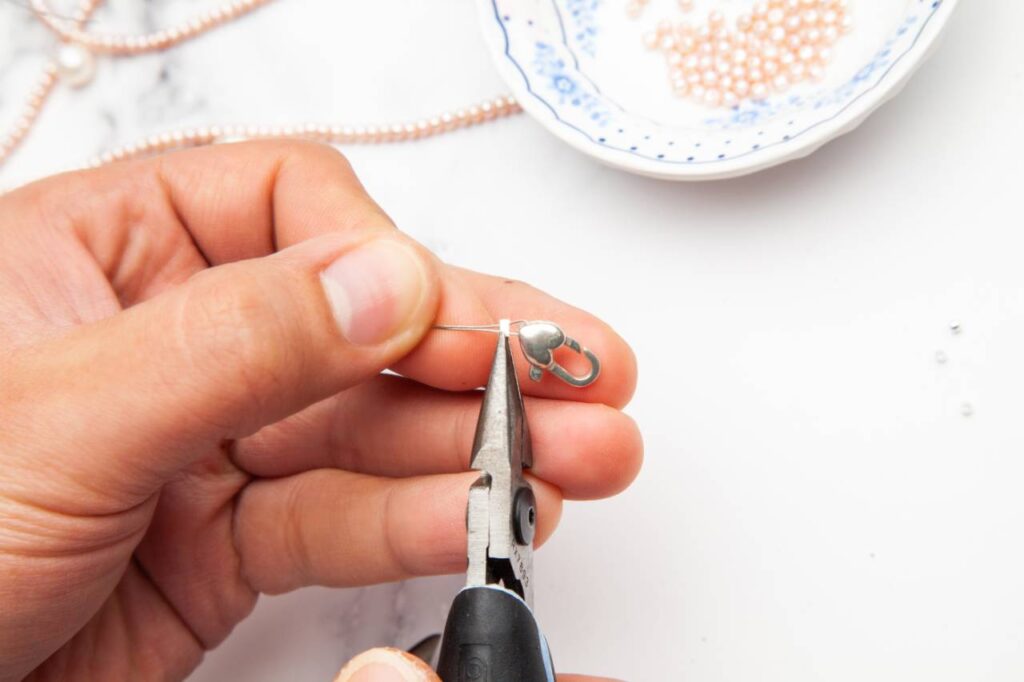
Step 3: Put the end of the wire through the crimp bead, affixing the lobster clasp in a loop. Cinch the crimping bead close to the lobster clasp, but not right up against it. You want it to be able to move freely so that it doesn’t wear away at the flexible beading wire and eventually break. Use your chain nose pliers or crimping pliers to flatten the crimp bead, so that it holds both pieces of the beading wire securely.
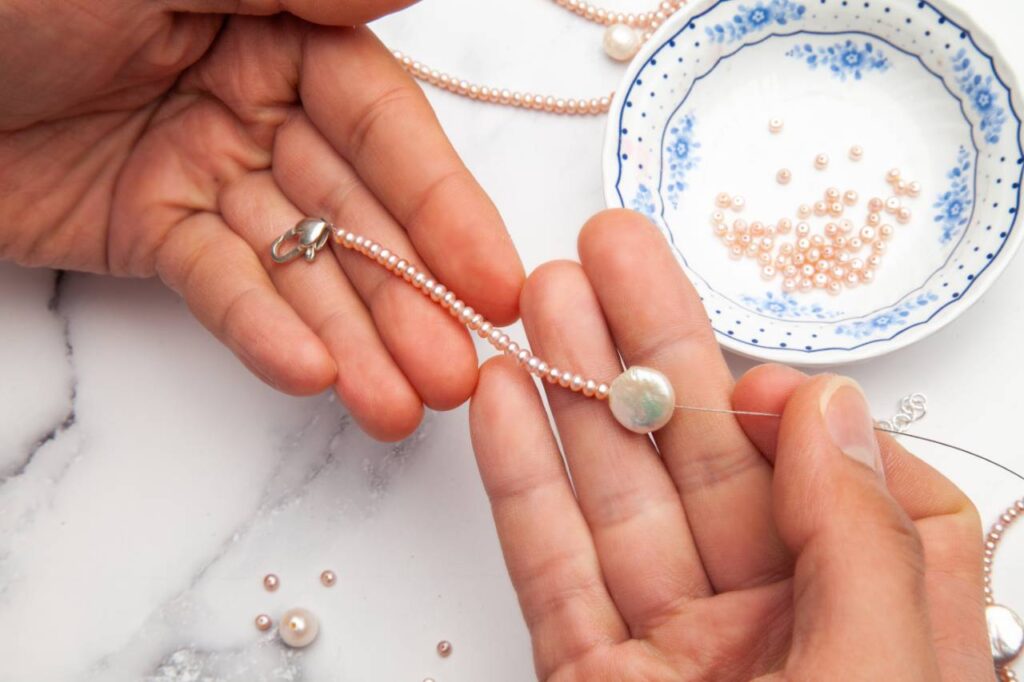
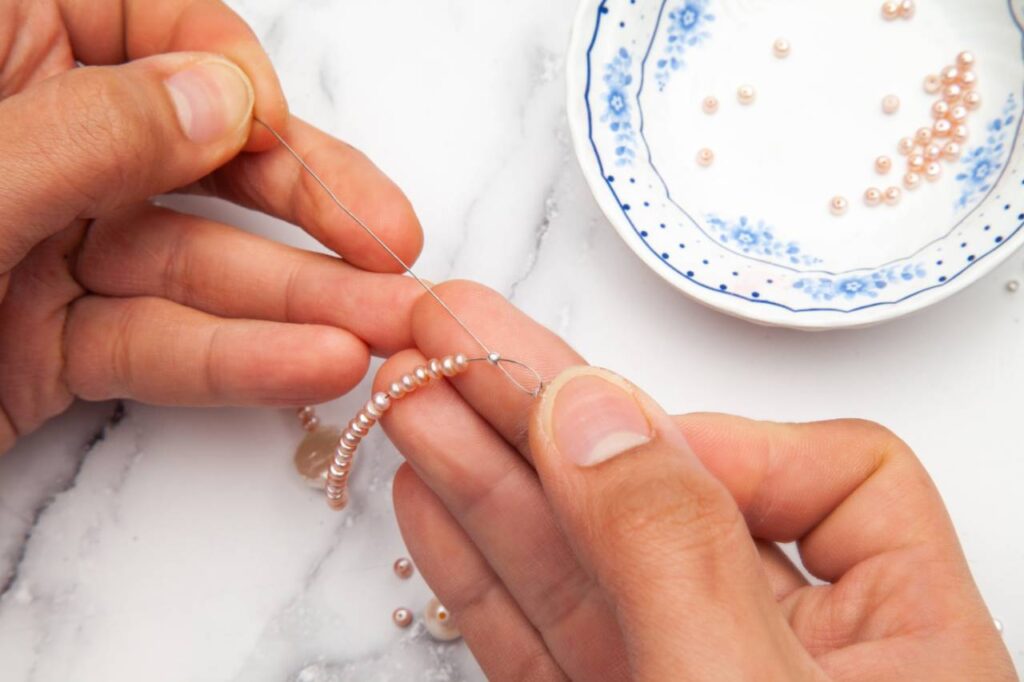
Step 4: String your beads! Make sure that you tuck the little tail of beading wire sticking out from your crimp bead, into your beads. You don’t want it poking your skin!
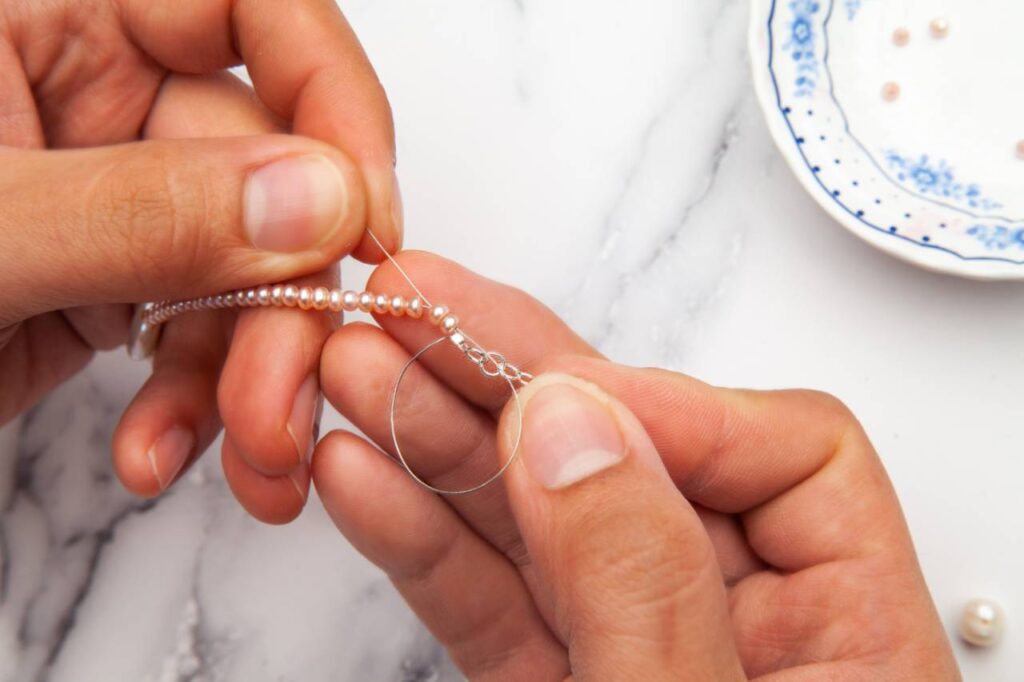
Step 5: Once you’ve reached your desired length, grab another crimp bead, an extender chain, and your crimping or chain nose pliers! Put the crimping bead on first, then your extender.
Step 6: Loop the remaining bit of your flexible beading wire through the crimp bead (making sure the extender chain is affixed in the loop created), then put the bead string through a couple of the beads that nestle up against the crimp bead. Gently pull your flexible beading wire so the loop closes, ensuring it’s the same size as the first crimp bead loop with the lobster clasp from step three. Hold on to your wire and crimp that puppy tight!
Step 7: Take your flush cutters and neatly cut off the excess wire.
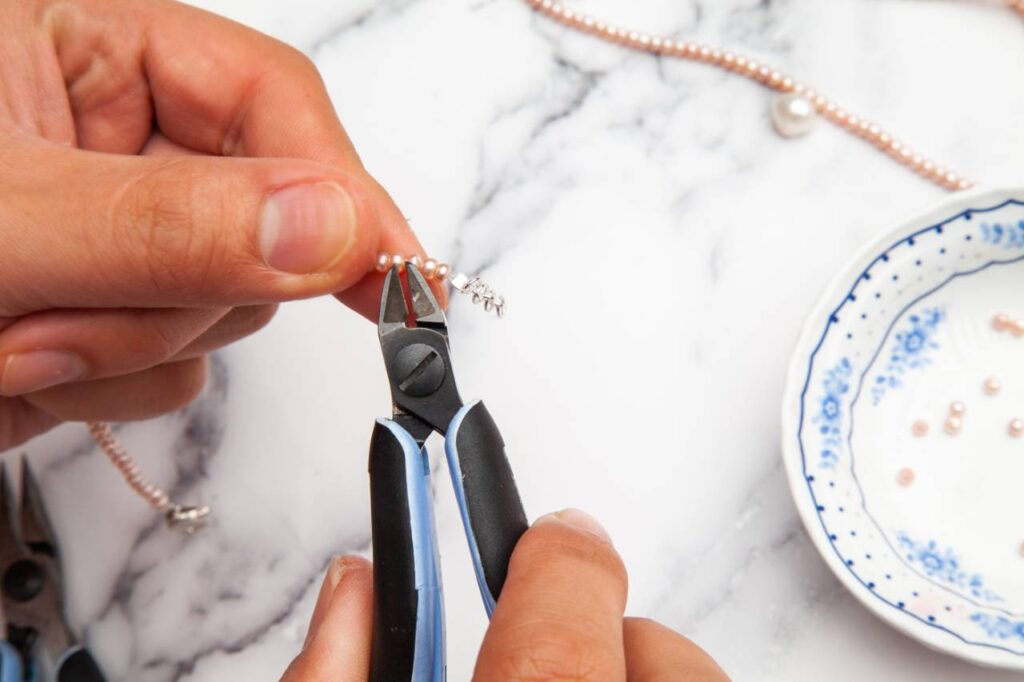
Step 8: Enjoy your stunning new creation!

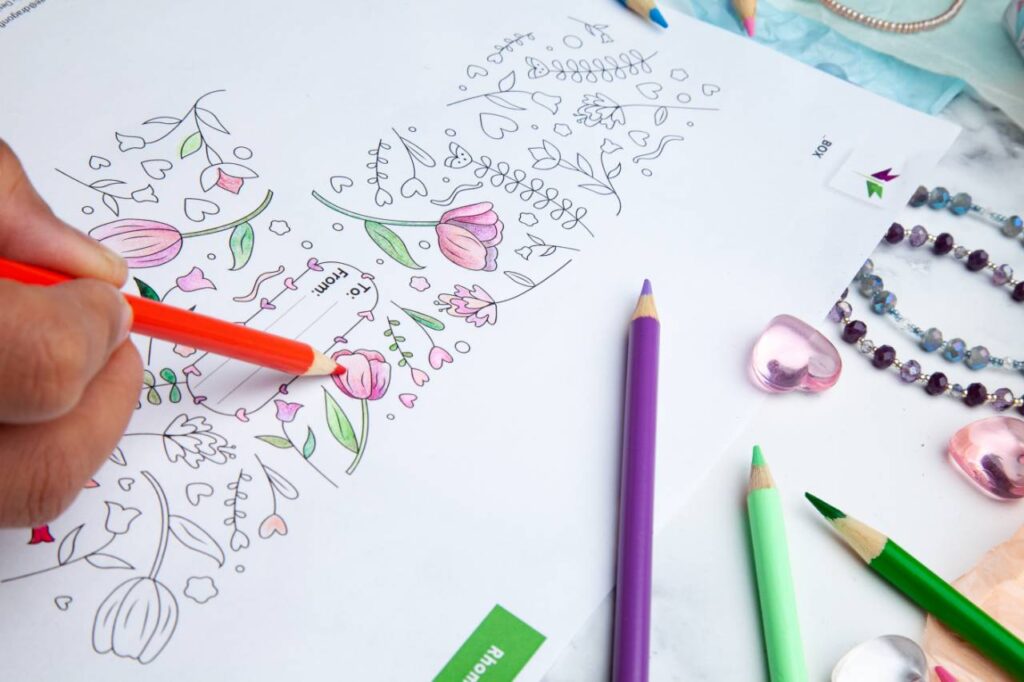
Step 1: Print out double-sided copies of our free printable gift boxes. Grab your coloring tools of the trade, whether they are pencils or markers, and create away! Add your own personal touches to your heart’s desire.
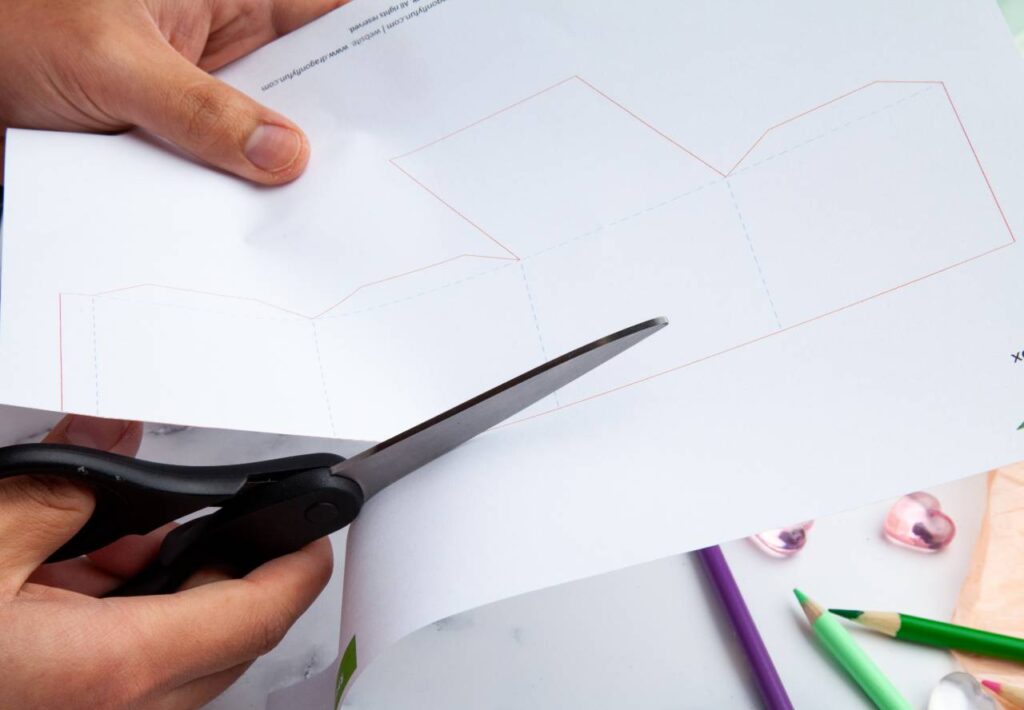
Step 2: Following the solid lines on the back, cut out the shape of the box – some designs have lids, so don’t forget to cut both parts!
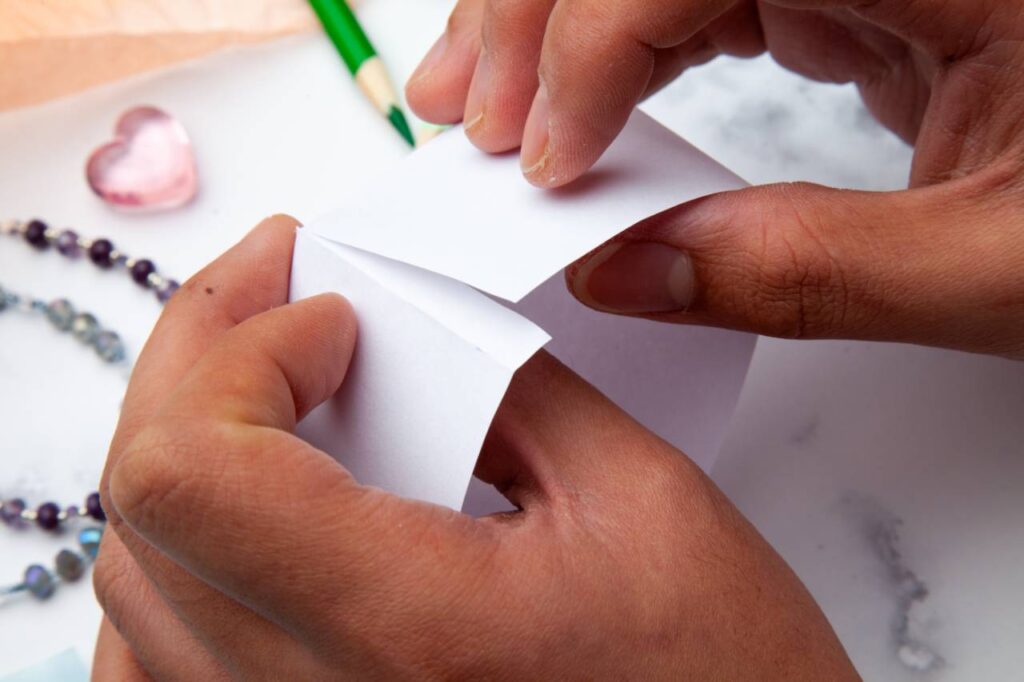
Step 3: Following the dotted lines on the back of the design, fold your boxes where it’s indicated. To get a crisp fold, use a ruler to make sure all your creases are straight!

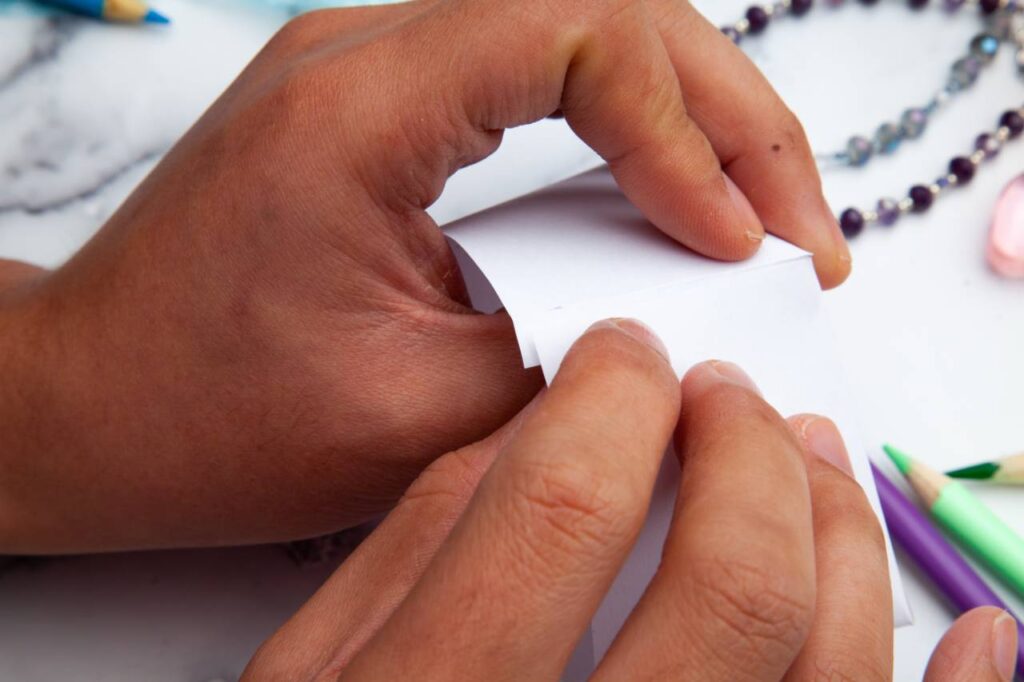
Step 4: Using a good old-fashioned glue stick, assemble the boxes. Fold them into shape, and distribute glue on the tabs. Attach the tabs to the inside of the neighboring side of the box. Hold the pieces together until the glue dries.
Step 5: Add stuffing, a cute personal note, or further decorations – and of course your gift! Enjoy the glee on your loved one’s face when you give them your present!

How are you celebrating Valentine’s Day? We want to see your expression of love! Please share your unique Valentine’s box, bracelet, and notes with us! Tag us on social media @hellodragonflyfun.
Click here to download your free foldable gift box and love notes template!