This project is always a hit in our mommy-and-me classes, so we trust it will be a hit for you and your mom (no matter the ages) as well…
Bonus: Check out how Agnes walks the team at ABC 7 through this project in the video below.
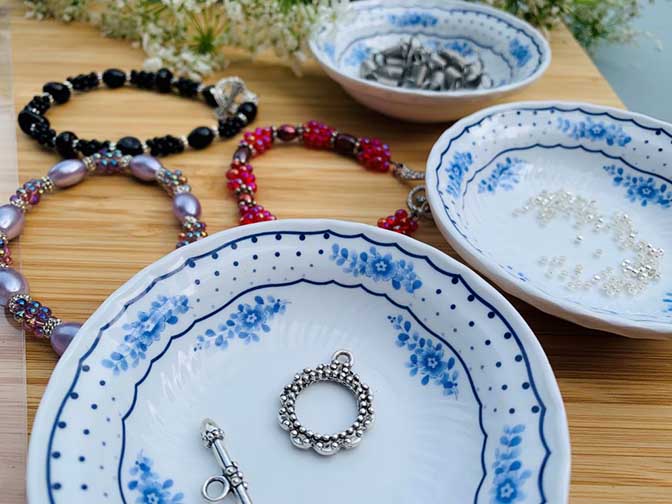
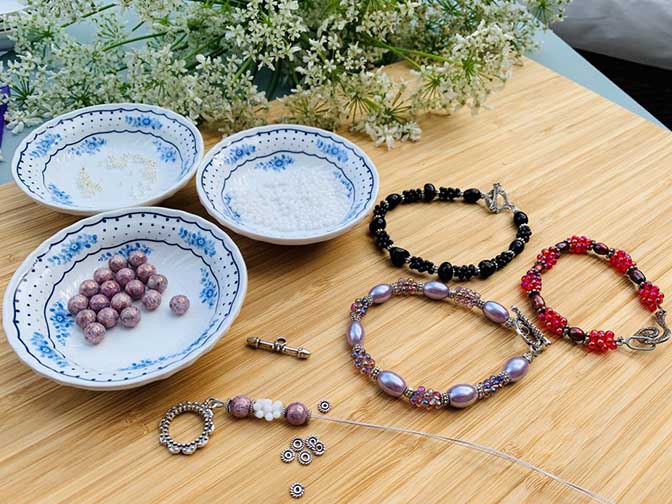
Pro Tip: It’s nice to color-coordinate your beads into bead trays. If you are interested in getting started with jewelry making or want to throw a jewelry-making party with friends, we offer beautiful all-inclusive jewelry-making kits that have everything you need, such as tools, findings, beads, measuring charts, charms, and easy-to-follow instructions.
Step 1: Measure the bead string around your wrist and lay the string onto the measuring chart – adding a clasp adds approximately 1” to the final length. Make sure to account for the inside diameter of the bracelet; using larger beads takes up more space once it’s closed around your wrist.
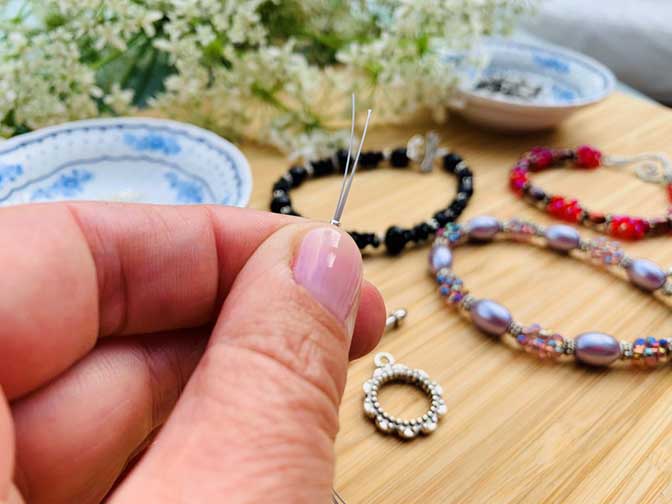
Step 2: Cut 3 pieces of beading wire about 3” longer than your finished piece will measure
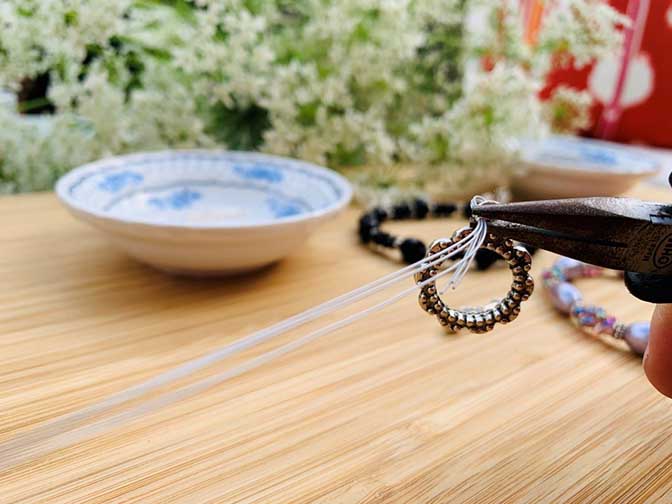
Step 3: Take a crimp bead and slip it over each of the 3 beading wires, add your clasp and loop the beading wire back through the crimp bead only
Step 4: Take your chain nose pliers and squeeze the crimp bead flat to secure the clasp in place
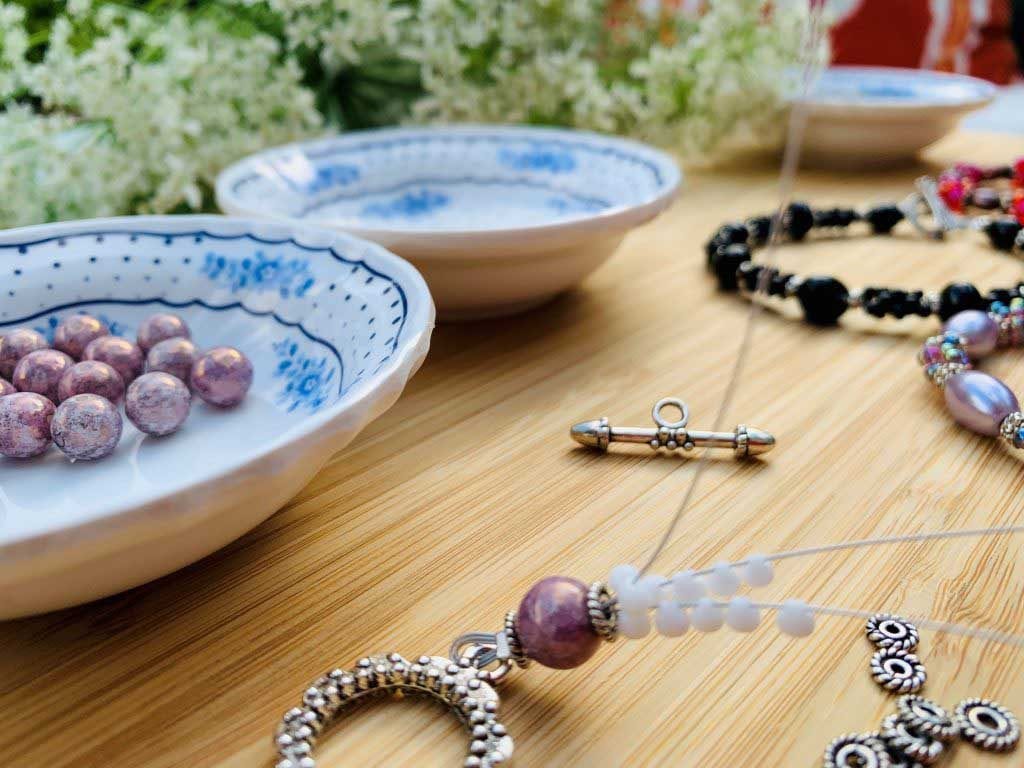
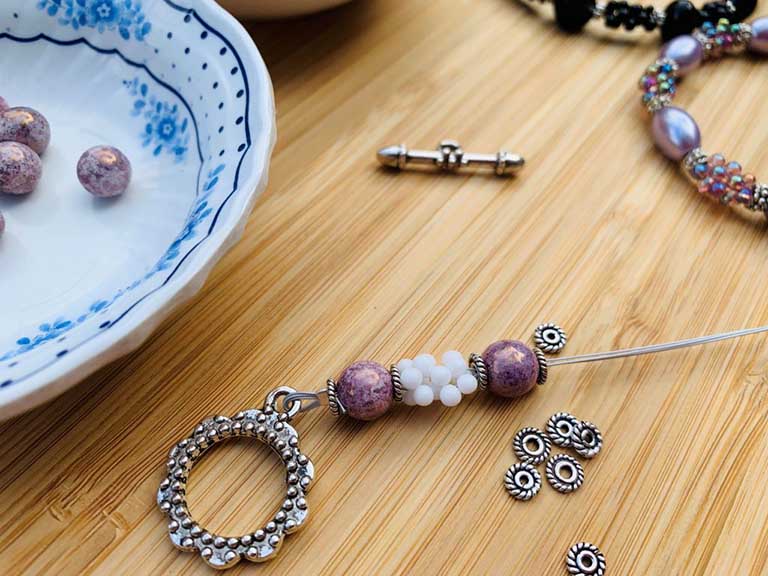
Step 5: Start with your metal spacer beads over all 3 strands of beading wire
Step 6: Then choose your large focal bead; place over all 3 strands of beading wires and frame that bead on the other side with another spacer bead
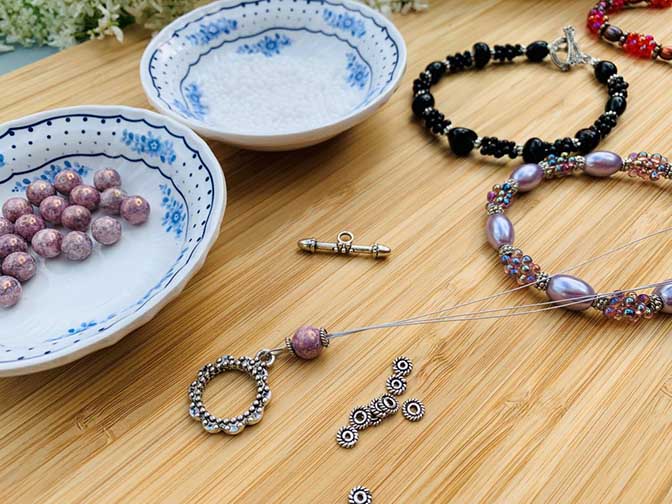
Step 7: Separate all 3 strands and add your smaller beads – 5 beads on each individual string (smaller beads can be glass, crystal, pearl beads, or fringe beads which make a “berry” style grouping that’s unique and pretty – see samples)
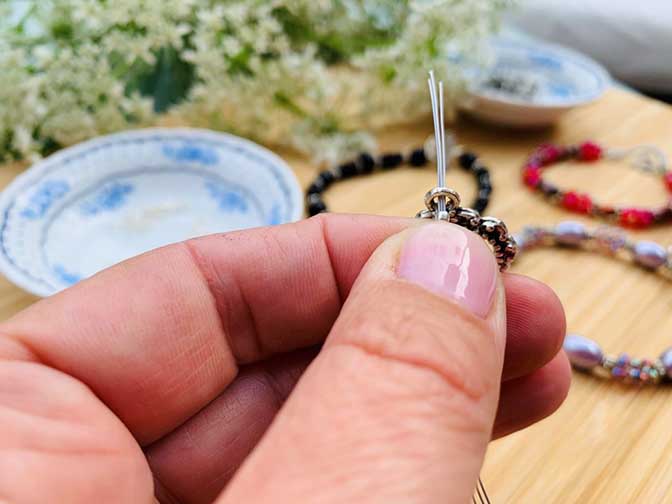
Step 8: Now go over all 3 bread strands with the metal spacer bead, focal bead, and metal spacer bead. As you push them into place, you start to see the pretty bead clusters develop.
Step 9: Repeat until the desired length.
Step 10: Add another crimp bead over all 3 strands and the other side of your toggle clasp or extension chain and put 1-3 pieces of beading wire back through the crimp bead.
Step 11: Before crimping the clasp in place, make sure to test that the fit is perfect; if so, squeeze the crimp bead closed, and voila!
Beading is a wonderfully relaxing activity. When we teach jewelry making to children as young as 5 years old, we notice how focused and engaged they become. It’s a wonderful activity to build fine motor skills in children, and it’s peaceful and calming for everyone to follow repetitive patterns. After you’re finished, you have an automatic sense of accomplishment and pride in your tangible, wearable art.
We hope you enjoy this project as much as we do. Don’t forget to download your free measuring chart!