
We’re all so busy chasing the extraordinary that we forget to stop and be grateful for the ordinary.
-Brené Brown
If you’re feeling a bit overwhelmed by the holidays, give yourself a gift – the gift of not being busy! Have you noticed that we are more likely to answer “busy” than “fine” when someone asks how we are doing? Somewhere along the line, being frantic became equated with accomplishing something! (What’s up with that?!) Thankfully, while the holidays can add to your crazy busyness, they also give you a reason to spend time with family and friends and to channel your stress into creativity.
Our Beaded Snowflake + Candy Cane Martini activity is your perfect excuse to slow down and get into the spirit of the season! This activity is a perfect alternative to a white elephant gift exchange. Set up tables and have guests make these adorable snowflakes to use as decorations, earrings, or ornaments. Add your favorite spirits to our Candy Cane Martini recipe for a toe-tingling cocktail and use festive rim sugars like Candy Cane to take any drink to the next level!
Or, get the kids involved and have them make beaded ornaments for their teacher, coach, or friends. The minty beverage also works great as a “mocktail.”
Whether it’s a festive holiday party or an idyllic party-for-one, this project will have you humming, “Fa La La La La!” Plus, we’ve taken the fuss out of gathering materials with our Beaded Snowflake DIY Kit, so just sit back, sip your drink, and get crafting! The next time someone asks how you are doing, you can exclaim, “Great! I spent the day crafting!”
Ingredients and Supplies
Instructions for Candy Cane Infused Vodka
Build Your Martini!

Too busy to hunt down the materials yourself? Click below to order our ready-made Beaded Snowflake Kit to guarantee you have everything you need, including top-quality beads!
Step 1: Cut a length of 24 gauge, “dead soft” beading wire (look for that term on the packaging – these wires are the easiest to work with for this project) in a color that matches your desired snowflake design. For a snowflake that has six spikes that are all one inch long, you’ll need about 14 inches of wire. For a larger snowflake, with 2-inch-long spikes, you’d need twice that length.

For the instructions, we will demonstrate this technique on a smaller snowflake. If you’re making a larger one, make sure that you’re sizing up your measurements!
Step 2: Start by deciding on your bead pattern.
Step 3: String on your first set of beads. Place the bead you want to be in the center of the snowflake first, about two inches from the end of your cut piece of wire.

Step 4: Select the rest of the beads for the design of your snowflake spine, and gently bead them on the wire one by one, ending with the bead that you wish to be on the tip of the snowflake.
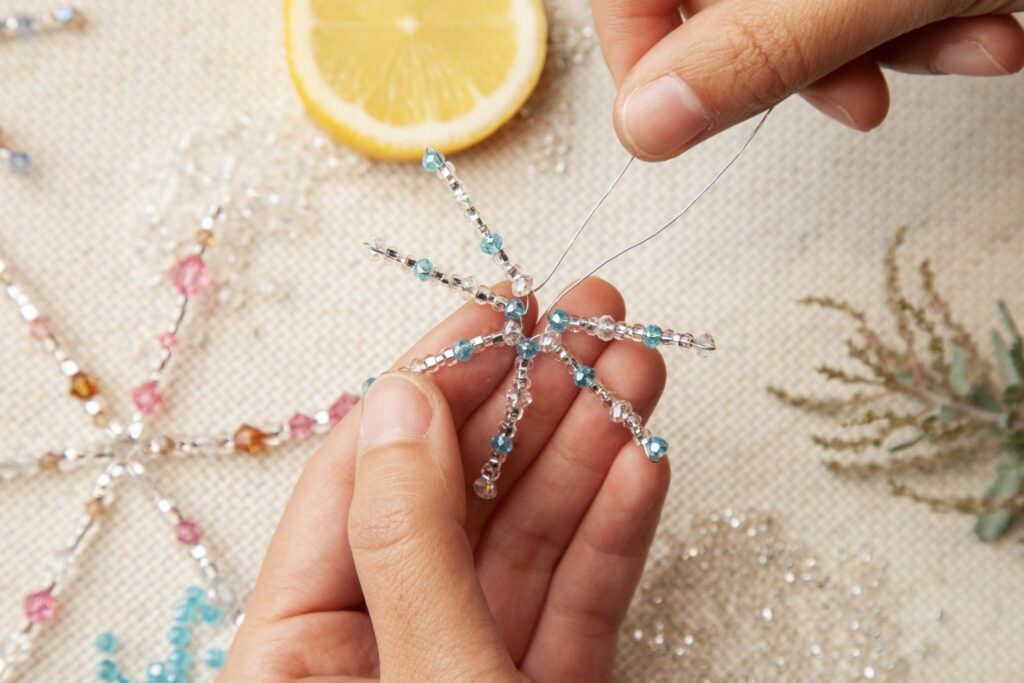
Step 5: Once you have all your desired beads on the wire, take the end of your long piece of wire, and gently feed it through all your beads, except for the one that will be the tip of the snowflake. This might take some patience, but slow and steady wins the race here! Once your wire is all the way through the beads, the tip bead will be affixed in a small loop.

Step 6: There will be a long and a short piece of wire sticking out from your beaded design. Take the long piece of wire, and string on all the beads of your pattern – make sure that you start with the bead that is in the middle of the design, and finish with the one on the tip.

Step 7: Once you have all the beads on the wire, take the remaining piece of wire, repeat step 5 by gently feeding it through all the beads you just put on, except for the one that’s on the tip of the design.
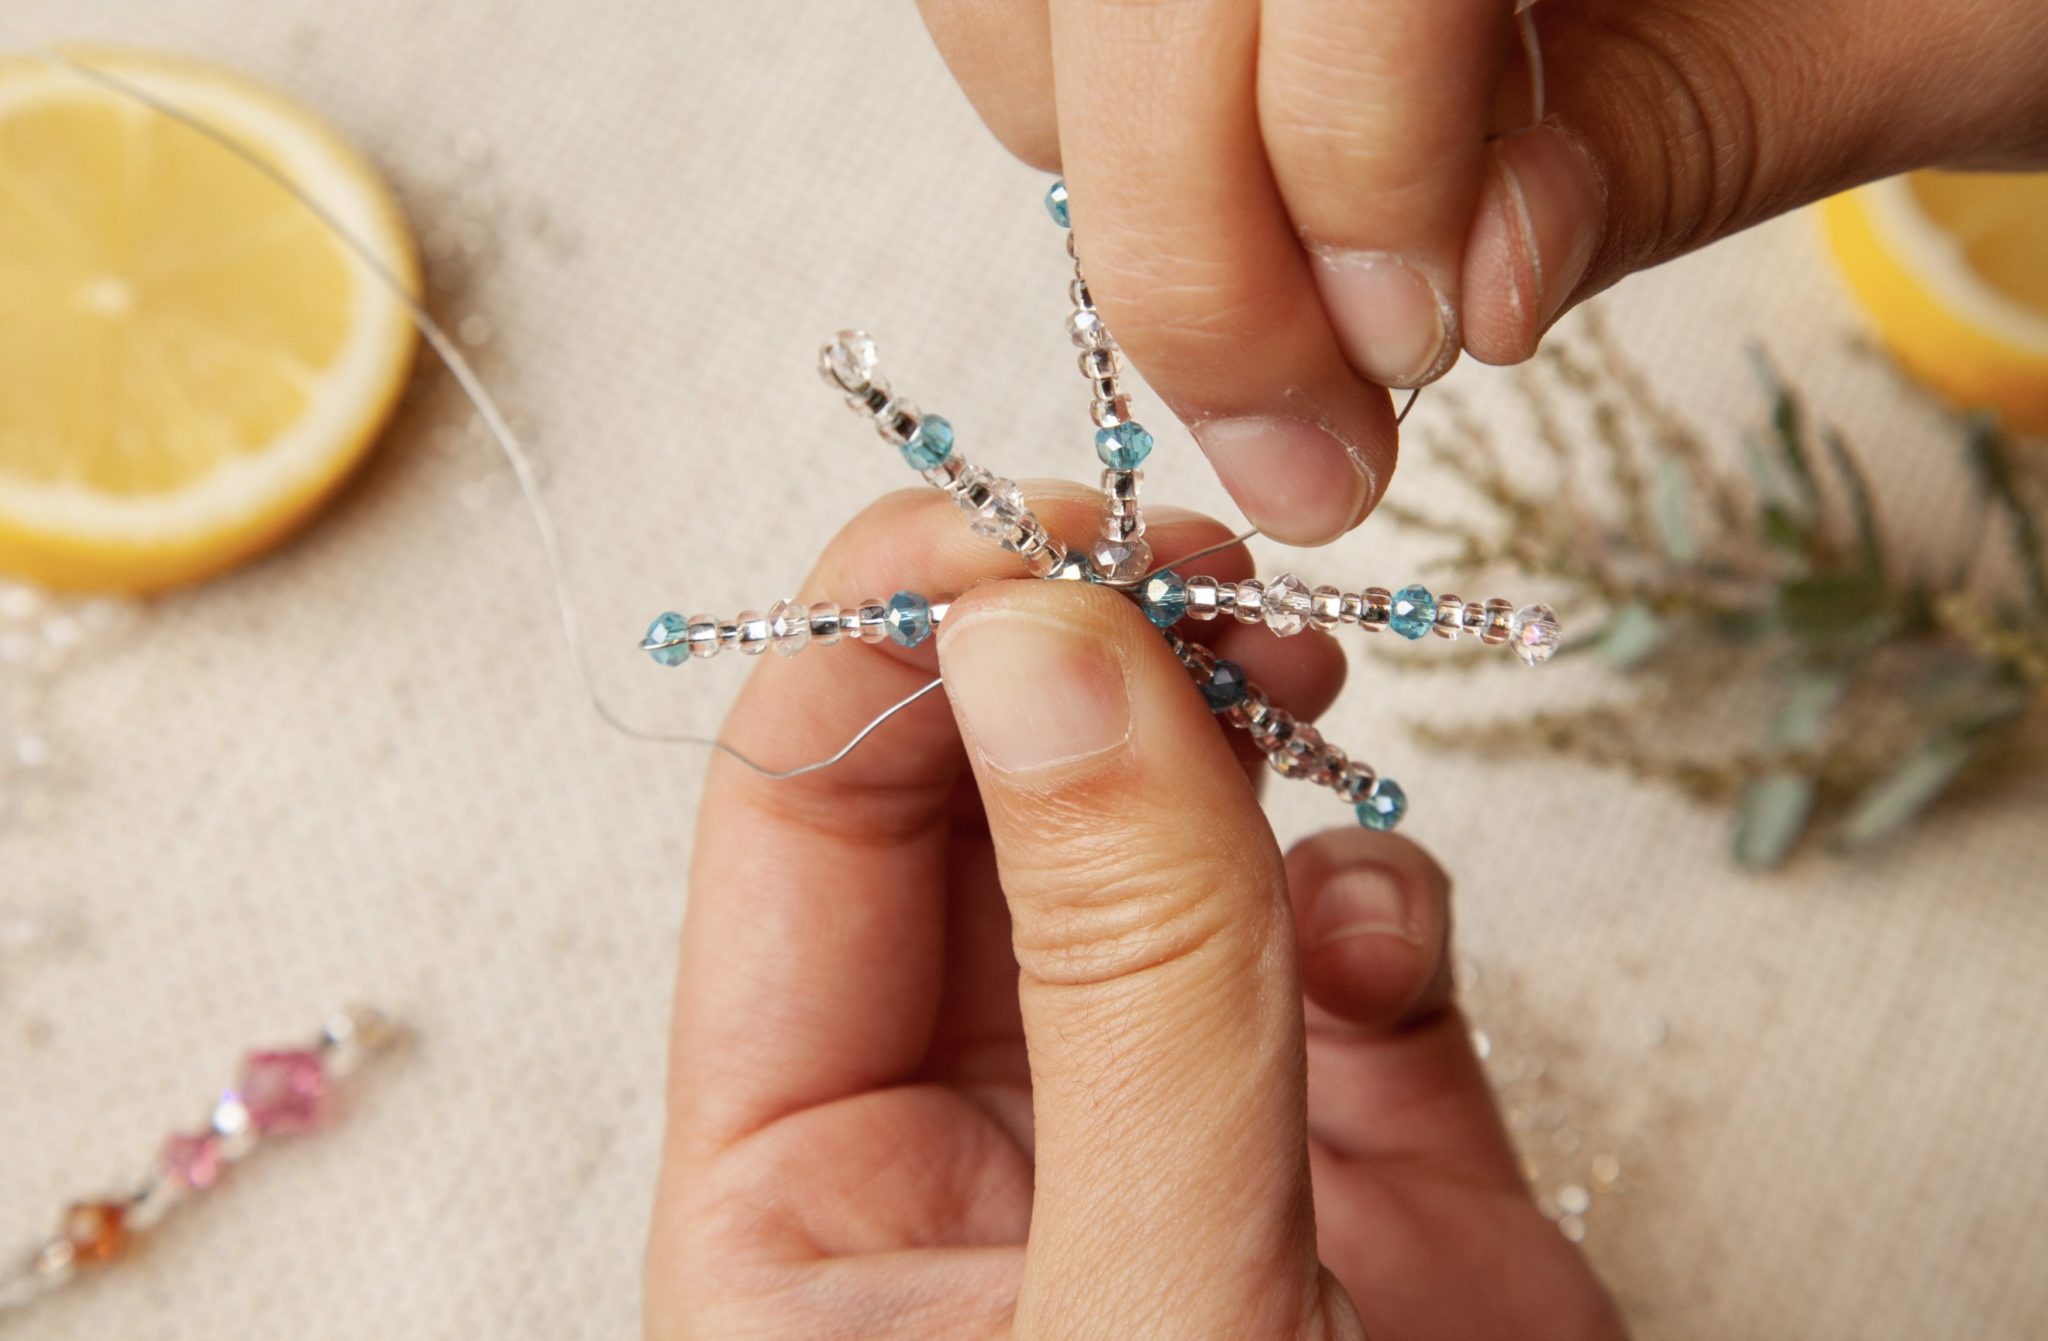
Step 8: Slowly pull through all the wire – to make sure that the spikes of your snowflake are right next to each other, gently hold on to both the first and second spike with your thumb. This will stop the beads from moving around as you pull on the wire.
Step 9: Repeat steps 7 through 9 four more times, until you have created all six spikes of your snowflake.

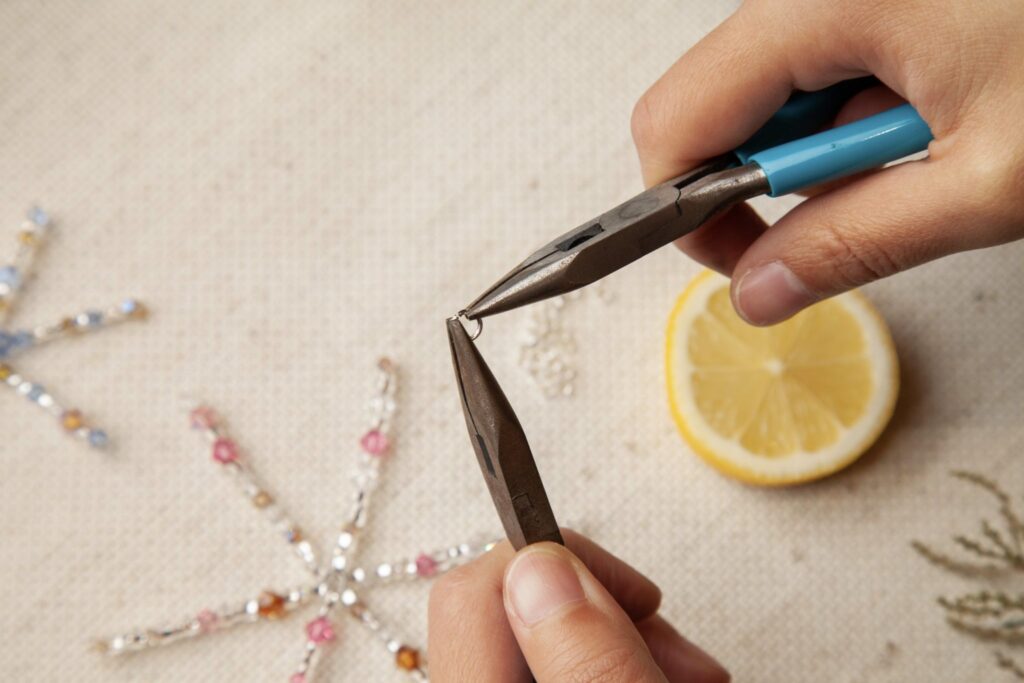
Step 10: To finish your beaded snowflake, wrap the two ends of your beading wire together, and along the base of the spikes of the snowflake. Tuck the ends into one of the beads at the base of your snowflake, and with that, you’re done!
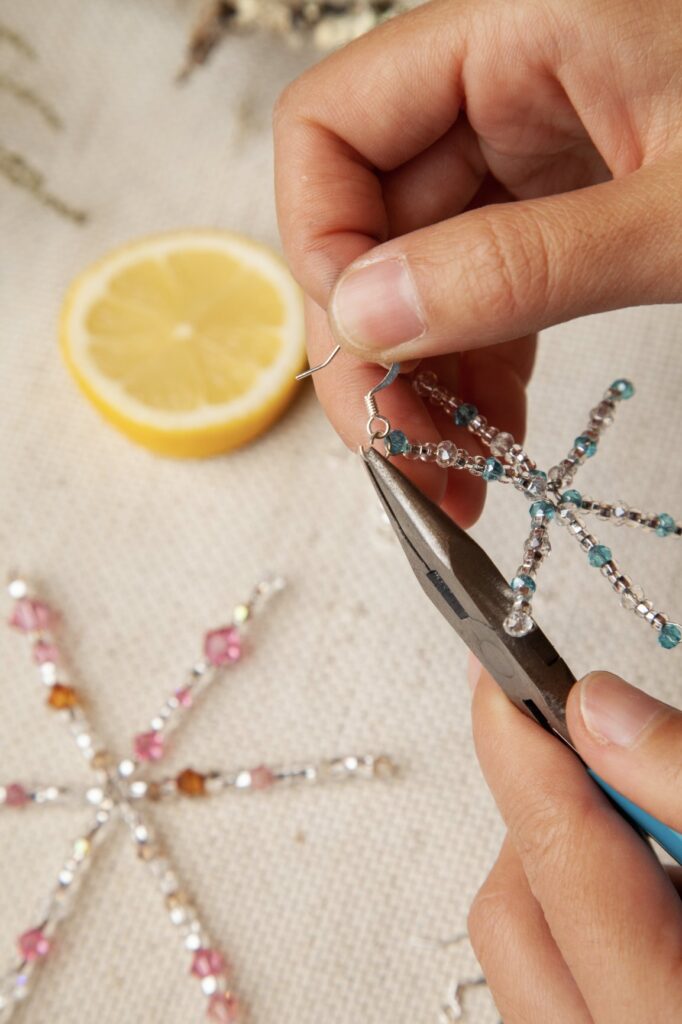
Step 11: This step is optional, but you can use jump rings and a length of organza ribbon to create a hanger to decorate your home with. You could even attach ear wires to a smaller snowflake to create a beautiful seasonal accessory!

What is your favorite way to unplug during the holiday madness? Show us how you used the Beaded Snowflake + Candy Cane Martini project to spread holiday cheer! Tag us on social media with your pics – @hellodragonflyfun!